Switching to working on another Master Grade kit this time: MG Johnny Ridden's Customized High Mobility Type Zaku II Ver. 2.0.
The many painted leg parts are still being left to dry in the container after the last posting, and I've done quite a bit of painting for MG Shin Musha Gundam's weapon parts yesterday, so I planned to just do some simple panel lining for some parts in this kit to make things very easy for the day for myself. ^^
The only components that seem to be simple enough are the weapons. ^^
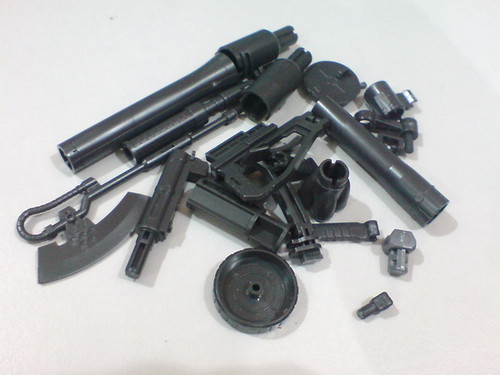
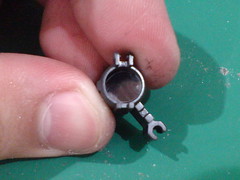
Not a lucky day for me (and for this kit), because I lost the clear part for the targeting sensor on Zaku Bazooka when I poured the parts out from the paper box. The little guy just fall off the table and disappeared into the 4th Dimension. ^^; I spent quite a while looking for it, but to no avail. I'm pretty sure it will show up when I vacuum my room soon, and get sucked into the vacuum cleaner like it's some sort of suspense drama featuring lost Gunpla part. XD I'm not too keen on waiting for that bad ending to happen, so I suppose I'll just make another targeting sensor for the bazooka to replace the lost one.
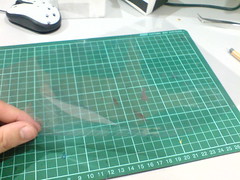
Primary material used: thick transparent paper that is commonly used as cover for bind printed document.

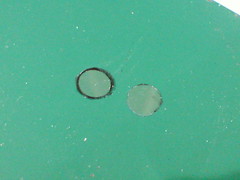
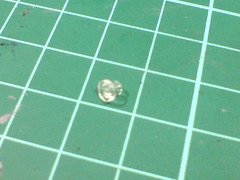
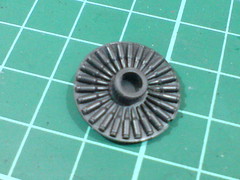
And how to get the size of the targeting scope exactly? First attempt that I hoped would give me a super fast solution: a punched dot using paper punch.
Size of the dot is much smaller than the area intended, based on the comparison with the back of the sensor as shown in the picture above. No instant solution achievable it seems ^^;
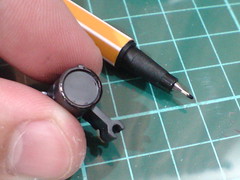
Second attempt, and a super elaborate one this time: ^^; Painted the circumference of the targeting scope in black using a pen first (left), then print the paint onto the transparent paper to get the exact size of the scope (right).
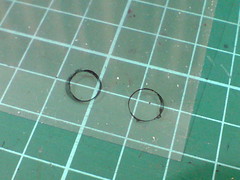
Prepared two, with one as the backup.
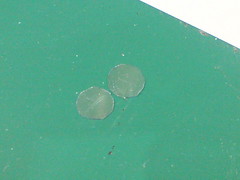
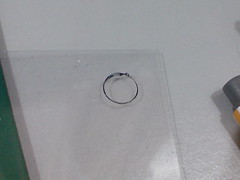
(Left) Cut out the transparent dots using a knife
(Right) Wipe away the paint using a piece of tissue.
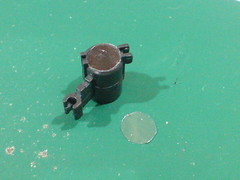
Comparison with the body of the scope. The cutouts are too big unfortunately. ^^;
In a way it's good that they are bigger instead of the opposite, because you can make what's big smaller, but not the other way round if the cutouts are smaller instead. ^^

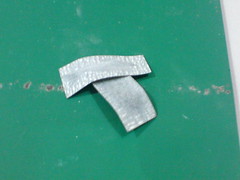
(Left) Since the transparent paper is made of plastic, the cutouts can be made smaller by sanding around it using paper file.
(Right) The entire process is a long trial and error really, sand the cutout a bit and try it on the scope, and then sand it some more when it doesn't fit and try again.
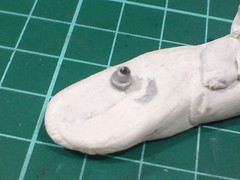
You know you've hit the right size for the cutout when the whole thing is able to sit inside the sensor's body very nicely. ^^
Even though the transparent paper is pretty thick, it's not as thick as the original clear part, so it won't stay firmly inside the scope.
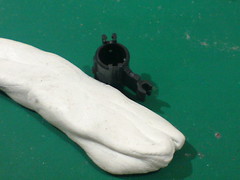
Using Tack-It adhesive, the interior of the scope is filled up till the level of the clear part. This will allow the cutout to sit on it later on.
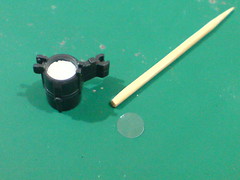
A toothpick with its pointy tip cut off is the simplest yet effective tool to flatten the area inside the scope. ^^
Two pieces of paper file to get rid of the unwanted outer rim of the cutout.
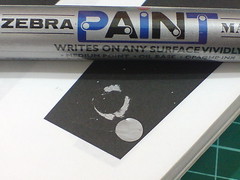
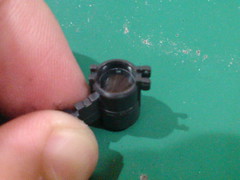
Onto painting the clear part - first paint is silver (from Zebra Silver Paint Marker) on the back of the part to create a shiny background.
Second paint is red (from normal marker) on the opposite face of the silver layer.
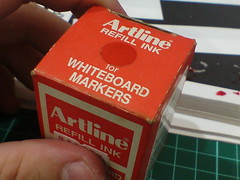
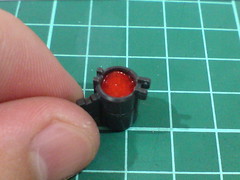
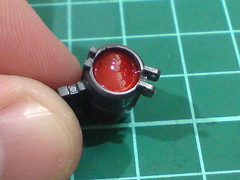
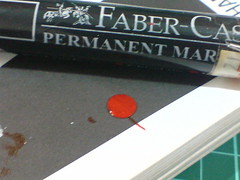
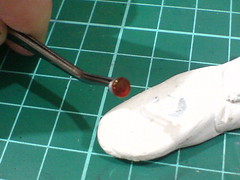
Not too satisfied with the effect of the silver background, I put in a drop of red whiteboard marker ink for the sensor area, and a bright glossy layer is achieved. ^^
Just a layer of bright red paint would remain when the paint dries later on I believe. ^^;
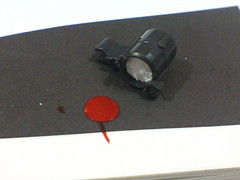
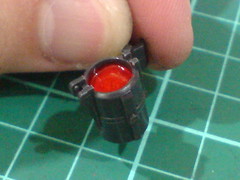
And all done for a part that I would normally speed through like nothing. ^^; Unnecessary was the work, but it was a good experience anyway, since I never did something like this in the past.
In other words, I was careful enough to not lose any of the clear parts from my Gunpla before this. Huh! ^^;
Then again, halfway through the whole endeavor, I was thinking to myself, wouldn't it be easier if I just skip to filling in the interior of the scope with Tack It, and then just use the whiteboard marker ink to cover the white area right away? Since the paint is so absolute, no extra work for it is needed anymore. The entire part on measuring the cutout and sanding it down would be unnecessary. ^^;
By then, I was already halfway through with sanding down the cutout, so I proceeded with the original plan. Part of the unwillingness to stop right there and just use the marker ink solution is due to pride too. No way was I going to stop midway after so much planning and effort. ^^;

Anyway, done with the troublesome part, I can finally get to the easy bit of the workload I was looking for as mentioned at the beginning of this posting.
Same paint treatment for the targeting scope of Zaku Machine Gun - silver paint on the back of the part, followed by red in front.
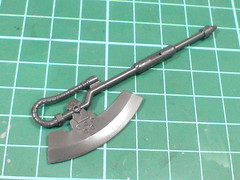

Panel lined the Heat Hawk
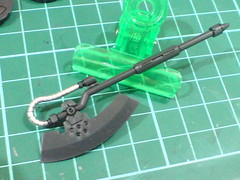
Following the same pattern I established for the other two MG Zaku II Ver. 2.0 did before this, the cable portion of the ax is painted in silver using silver paint marker.
Was planning to paint the bullets shown inside the magazine drum of Zaku Machine Gun using Gundam Marker Gold, but the plan is canceled after so much hassle before this. ^^;
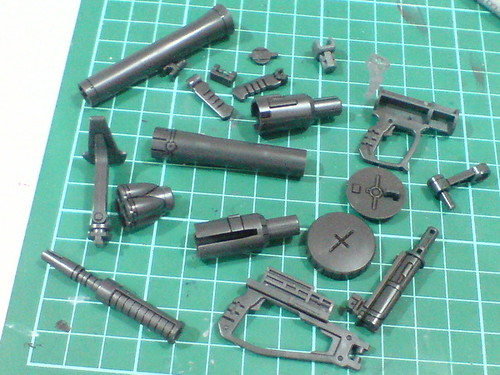
Simple panel lining for the rest of the weapon parts.
So much so for wanting to do something easy. ^^;
Will move on to the arms of this Zaku II kit in the next posting. ^^


No comments:
Post a Comment