Going through the work on four Master Grade kits last month and carrying them over to this month, it would seem that the assembly stage for any Gunpla kit would be void on this blog for at least another month or two, but it's not so. ^^ I still have 1/100 Gundam Dynames waiting to roll out. This green guy has been sitting on the waiting list since mid May. ^^
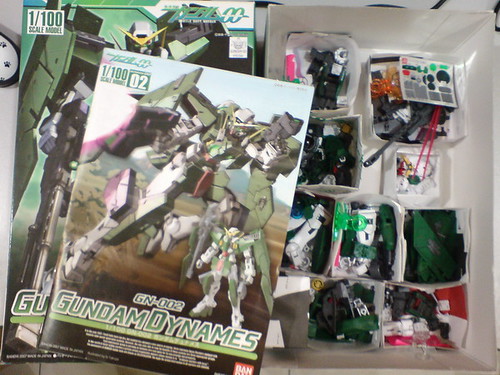
It's time to complete this kit. ^^
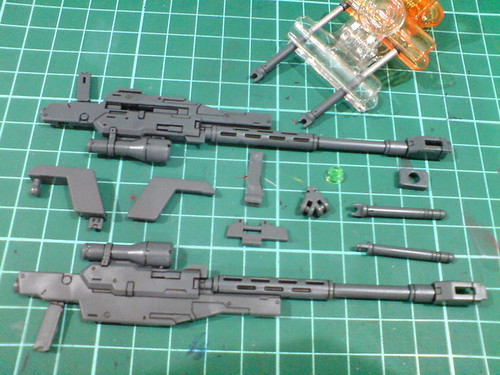
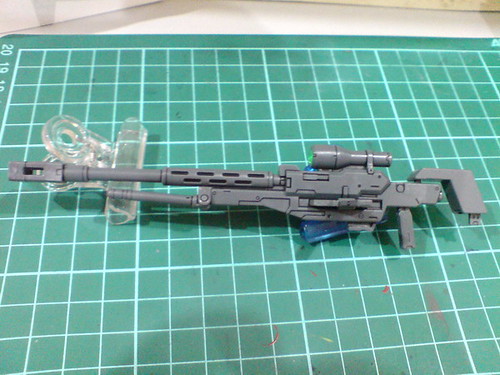
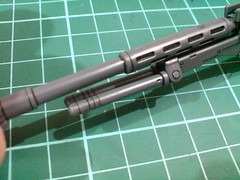
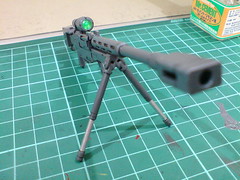
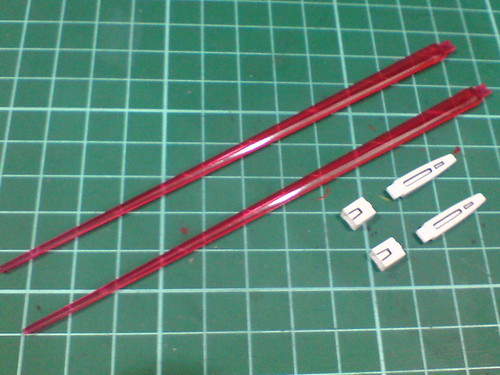
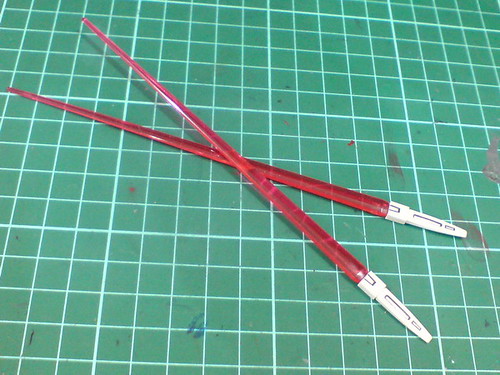
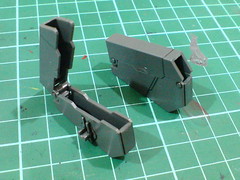
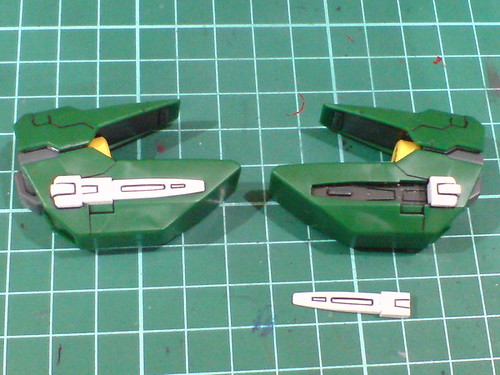
Parts for the sniper rifle.
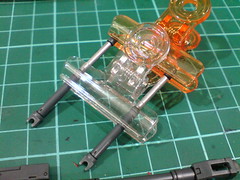
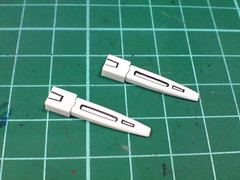
(Left) Paper clips were used to secure the supporting legs for the painted area to dry off, since after the parts were painted in Part 2 back in early May actually. ^^
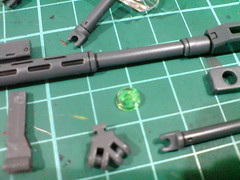
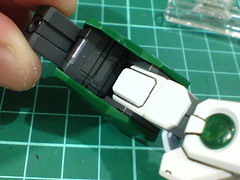
(Right) Clear part for the targeting sensor that was painted with green highlighter on its rear face.

Foil sticker used for the surface of the targeting scope.
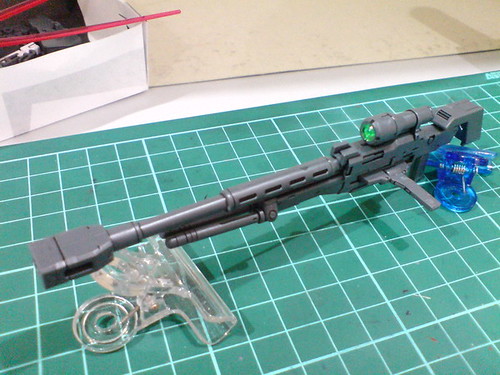
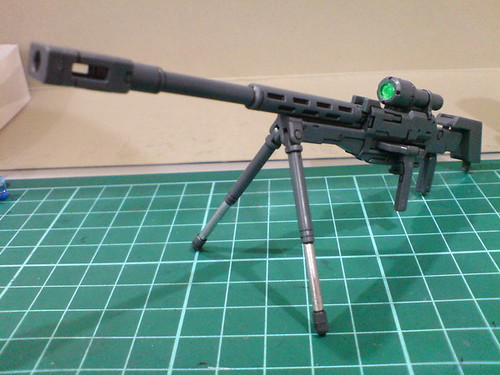
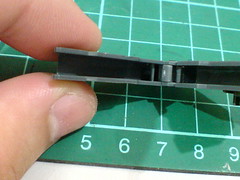
Completed. A very long weapon it is. ^^
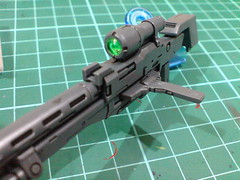
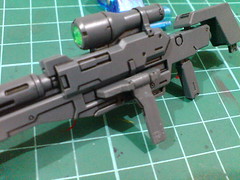
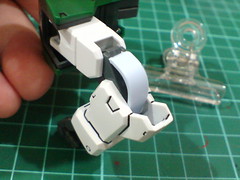
The supporting handle on the side of the body is obviously movable.
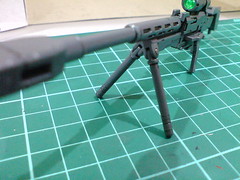
Deploying the supporting legs - short type.
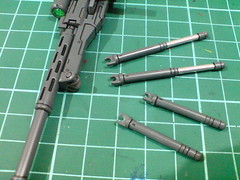
Part swapping to get the long type supporting stands.
While it's really simple to swap the parts, detaching and reattaching the stands is quite a stress to the joints, so after the action pose portion of this review, I think I'll just settle with the short type for display. ^^;
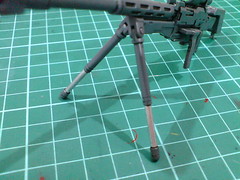
With the longer stands deployed.
Very stable display for the whole rifle in this position when the stands are deployed, but it's not going to be easy adjusting a natural-looking pose for Gundam Dynames to match this weapon in this state.
Parts for the beam sabers.
The same ones to be used by Gundam Kyrios and Gundam Virtue as well.
The handles are the only parts that need (a tiny bit of) assembly.
Just very standard looking beam sabers.
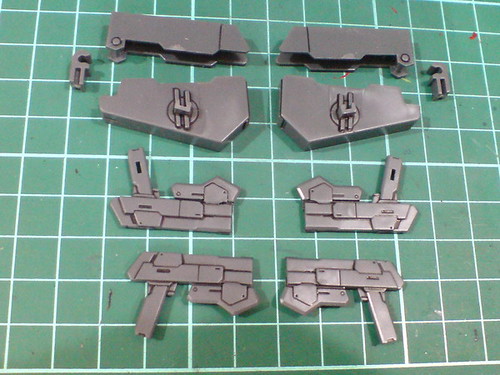
Gundam Dynames's special weapons: a pair of beam pistols with holsters. ^^
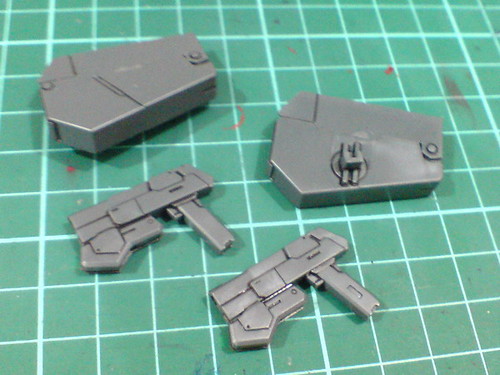
Very simple assembly for the pistols and holsters.
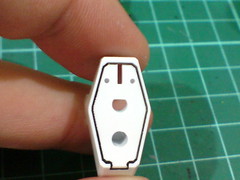
Foil stickers are used for the targeting sensors beneath the nozzles.
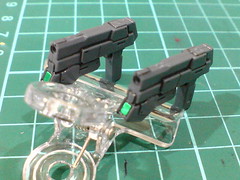
There's no special tab or lock inside the holsters' chambers, so the beam pistols are going to be held inside the racks just via the tight clip-like compartment of the top hatch.
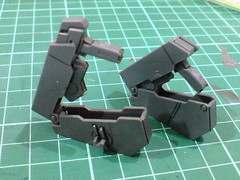
I almost want to laugh at such simple yet effective storage method. It's a very nice touch in design indeed. ^^
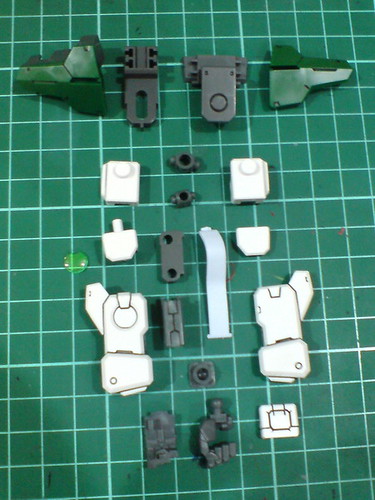
Parts for the right arm.
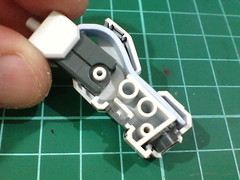
Very long rubbery part for the GN Stripe, extending from the elbow to the forearm.
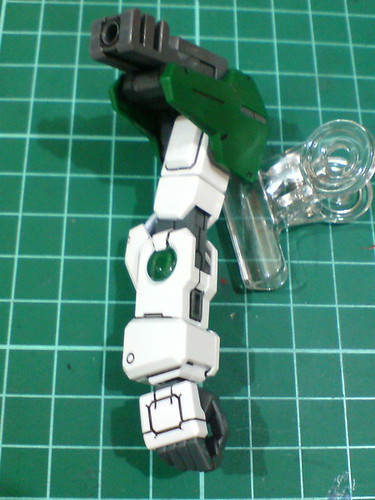
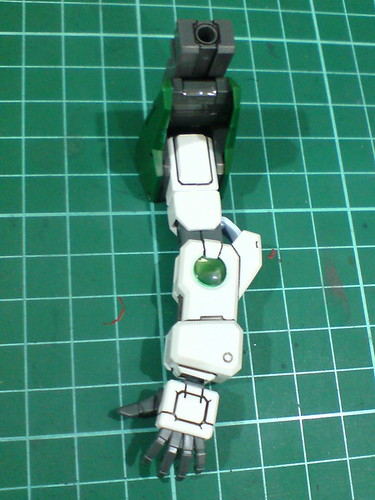
Right arm completed.
Pretty standard articulation for the elbow I would say.
The "fixed" curve point of the GN Stripe behind the elbow joint.
The large painted area for the middle section of the shoulder armors (from Part 2) turns out pretty well. ^^
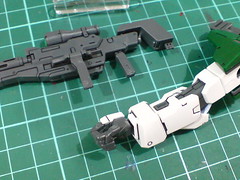
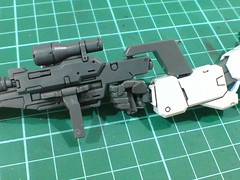
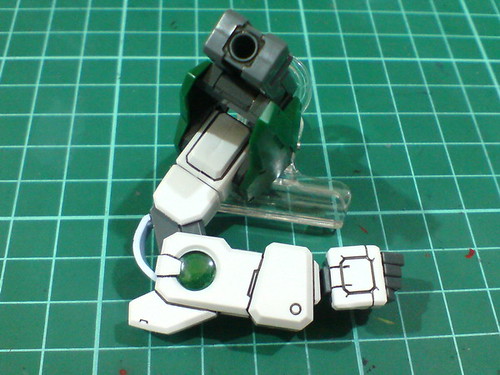
Mounting the rifle's supporting joint to the latch on the forearm.
Given there's no tab or lock on the palm to secure the beam rifle's handle, the supporting joint is actually a very important part for the model to pose with the weapon. ^^
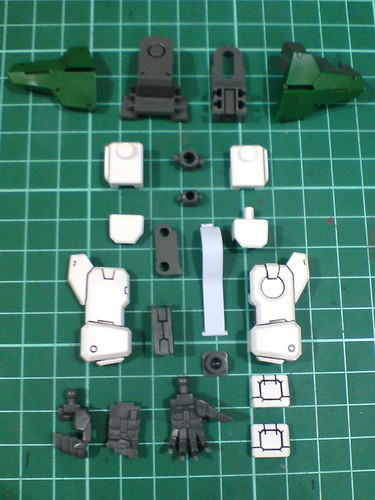
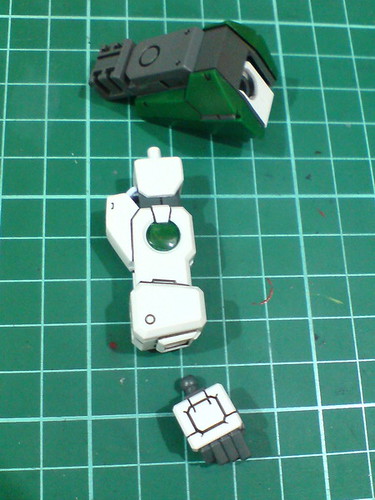
Parts for the left arm.
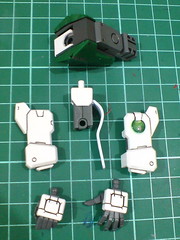

Assembly and major components are the same as the right arm, but there's an extra spread palm included.
Left arm completed.
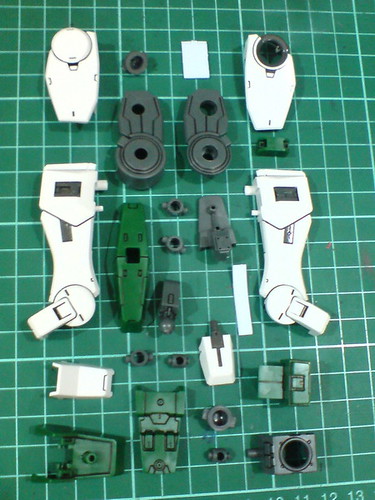
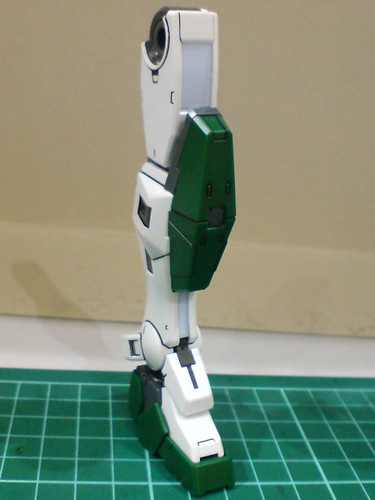
Parts for the right leg.
Major components before they are snapped together.
Done for the left leg.
A little bit of articulation for the front section of the foot.
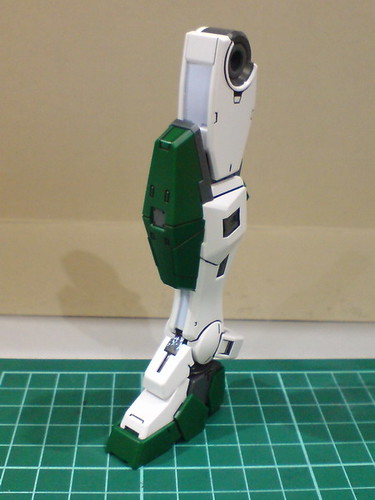
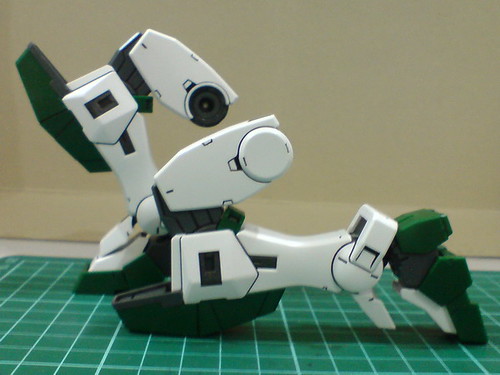
Articulation design for the knee is pretty good - it can bend up till this level for some really cool sniper action later. ^^

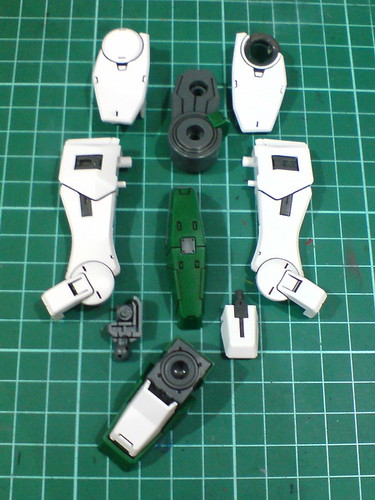
All parts for the left leg.
Done for the left leg.
Just mirror image of the right leg really.

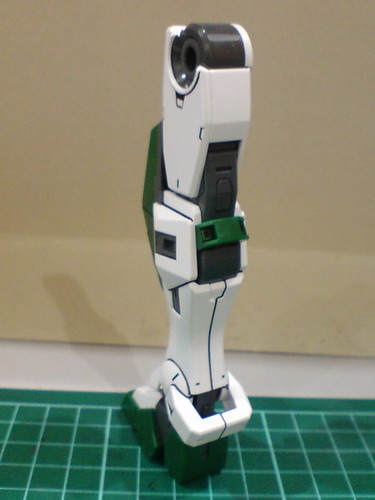
Both legs are now done.

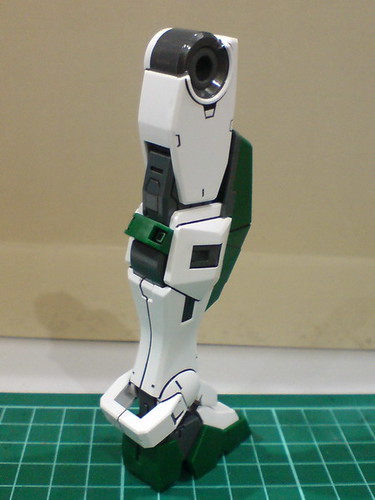
Parts for the waist
A very happy Gunpla part. ^^
Very simple assembly for the waist.
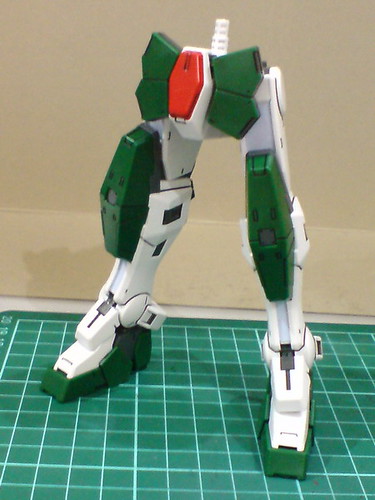
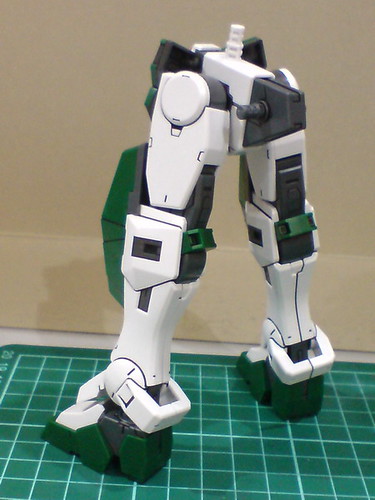
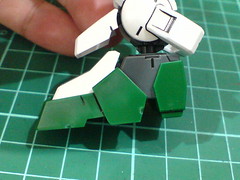
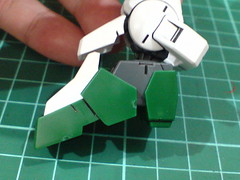
With the legs attached.
Very nice-looking kneeling pose, as I hoped for. ^^
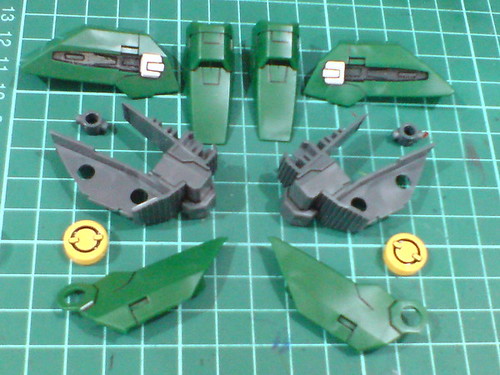
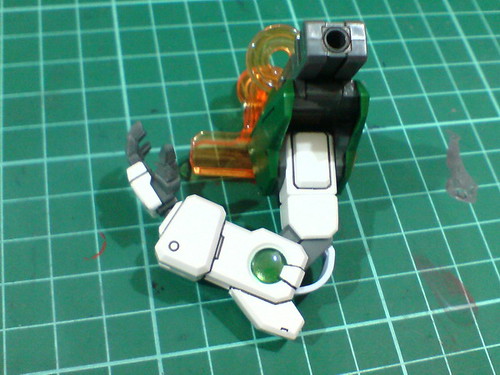
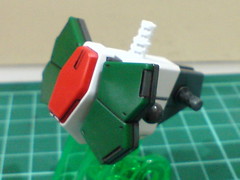
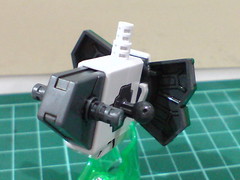
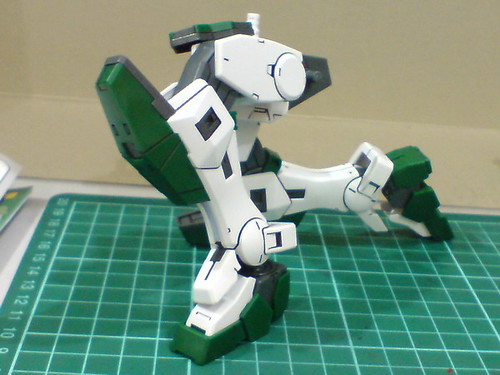
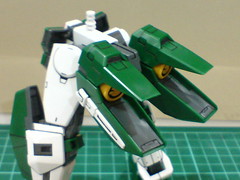
Parts for the twin rear booster.

Nice part separation for the entire component allow all the vent details to be displayed without too many parts involved. ^^
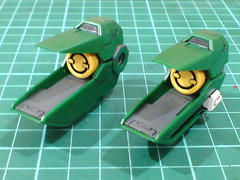
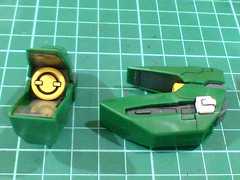
Just like the beam pistols' holsters, there's no specific lock or tab to secure the position of the two beam sabers inside their mount racks on the side of the booster units. They are just held inside there via tight grip of the space of the rack.

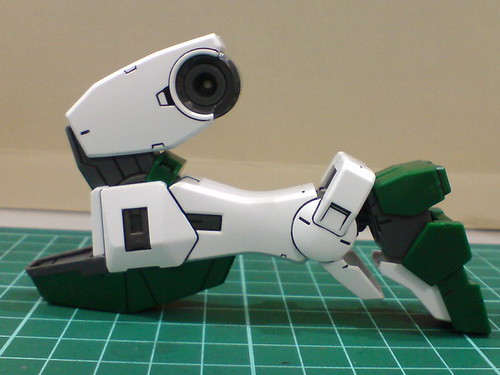
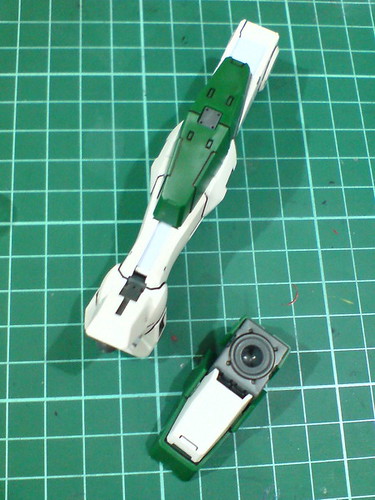
Mounted the booster units to the back of the waist.
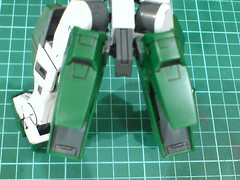

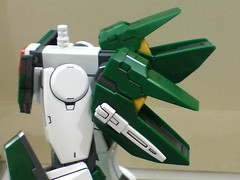
Since the parts are connected to the back of the waist via polycaps, the boosters can be adjusted to various angles.
Adjusting the boosters can be important for some kneeling poses, but for the rest of the time, I just keep them facing downward, so the articulation design of this component is not exactly important for me. ^^
Finishing up with the body, head and plate armors in the next posting. ^^


1 comment:
I have always like this kit since the inception of 00 Gundam series. Always have a soft spot for Sniper-type MS... XD
Post a Comment