Continuing with the assembly of 1/100 scale Zaku Warrior with Blaze Wizard and Gunner Wizard packs after the previous posting. ^^
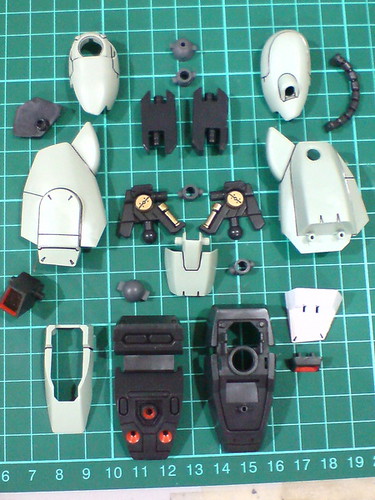
Parts of the right leg.
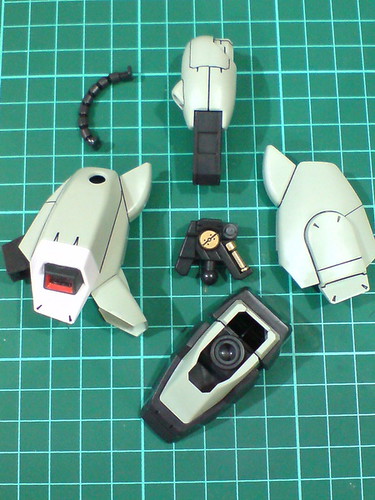
Separable components of the right leg before the final assembly.

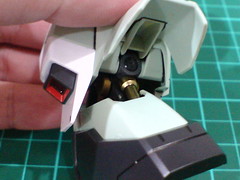
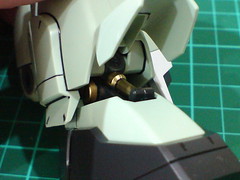
A look at the various polycaps' and hinge joints' positions inside the leg part to have a preview of how many of its components are movable.
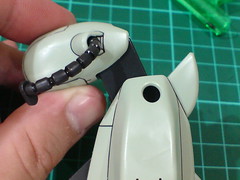

The knee joint must be bent first before the conductive pipe can be attached.
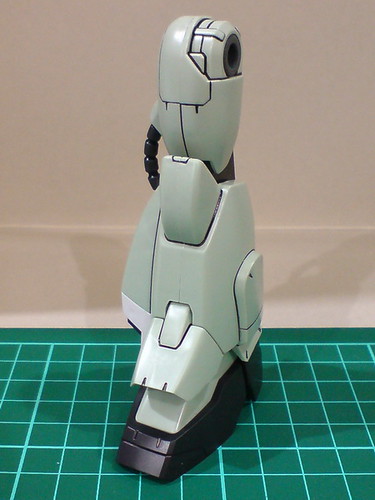
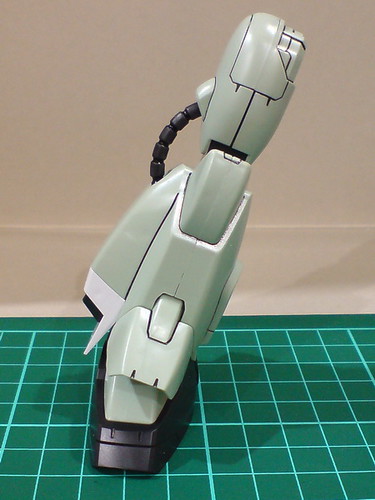
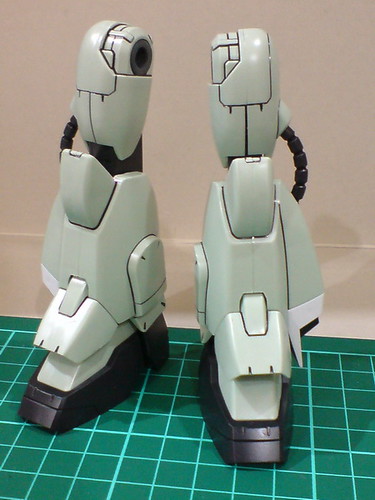
Right leg completed.
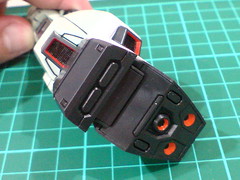
Painted details of the various thrusters did in Part 3. ^^
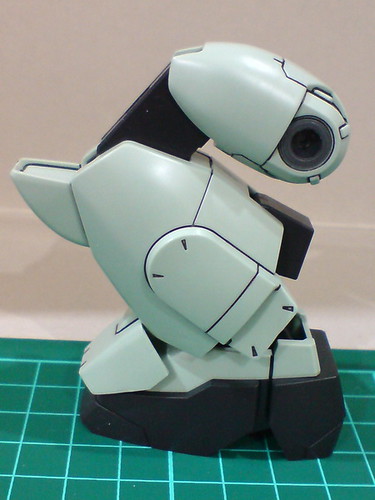
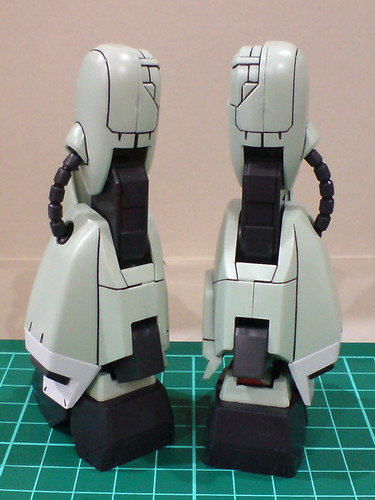
Very wide articulation range for the knee joint - it's actually 90 degrees. ^^
The movable ankle guard allows it to not interfere with the knee joint's movement.
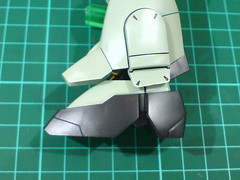

The ankle joint can "swing" forward and rearward.

The painted ankle joint can be partially seen when the angle guard is lifted.
The ankle joint can support the leg to lean to its side very well.
Parts of the left leg.
Separable components of the left leg before the final assembly.
Done for the left leg.
The same painted leg thrusters as those on the right leg.
The same articulation ability as the right leg as well.
A peek at the left ankle joint's painted parts.
Both legs are now done.
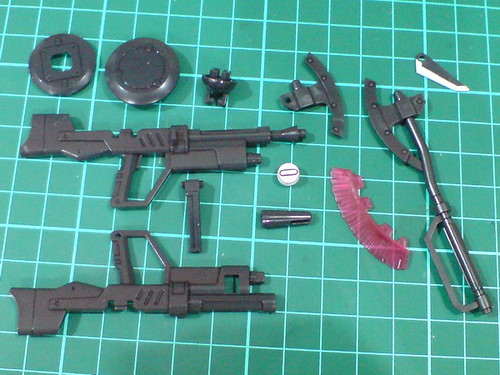
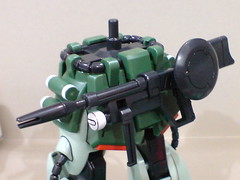
Parts of the beam rifle and beam ax.
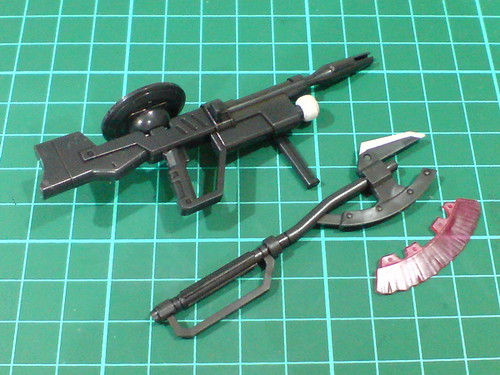
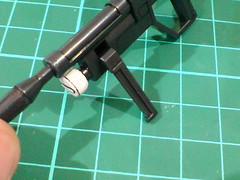
Both weapons are completed.
While the beam rifle's design is very reminiscence of the the original Zaku II's 120mm machine gun, its relatively small size and a more rigid appearance do set the difference in terms of feel. ^^
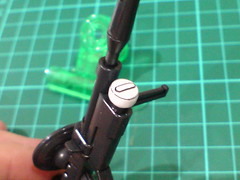
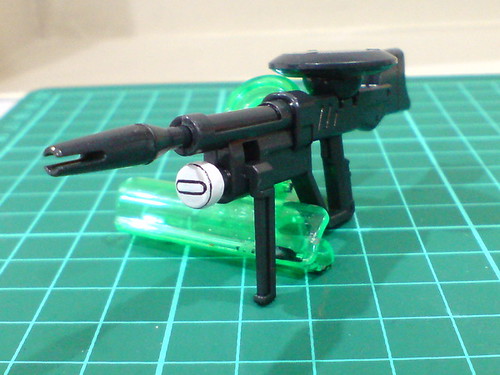
The painted white "dot" does stand out a lot beneath the barrel. ^^
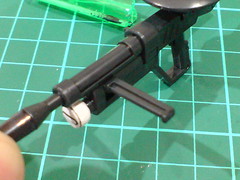
The supporting handle can move.
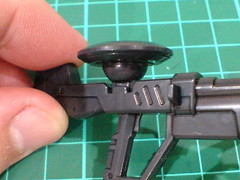
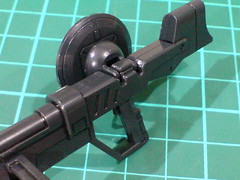
The magazine's joint needs to be pulled upward slightly before it can be bent to the back for the rifle's storage mode.
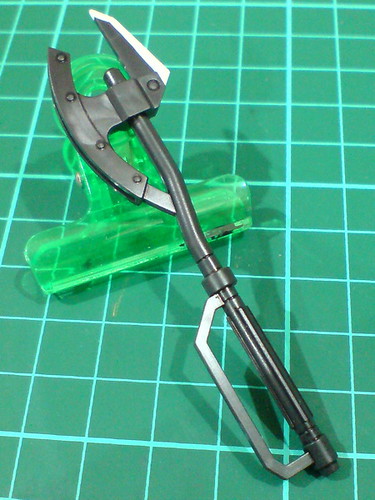
Between the two, I like the beam ax better. Since it can be stored in the shoulder shield as depicted in the anime for this kit, I was hoping that it could be designed a little bigger for a fiercer look. ^^
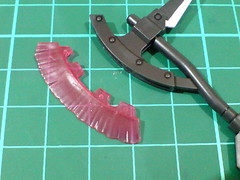
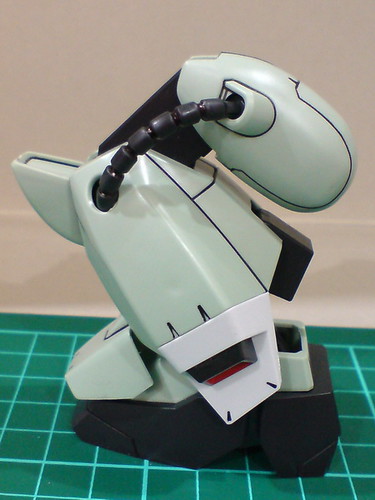
Attaching the beam part for the cheek.

With the little pick folded downward, the beam ax is a really cool-looking weapon. ^^
Many call it a beam tomahawk, but I find the bit to be too long for the weapon to be called so.
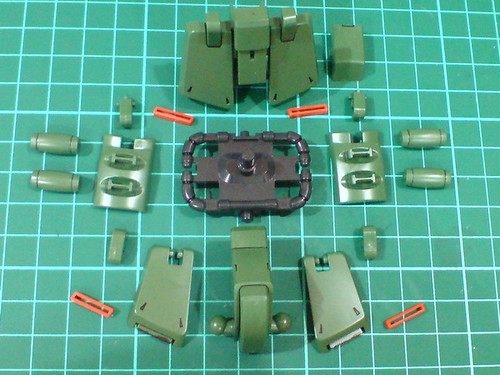
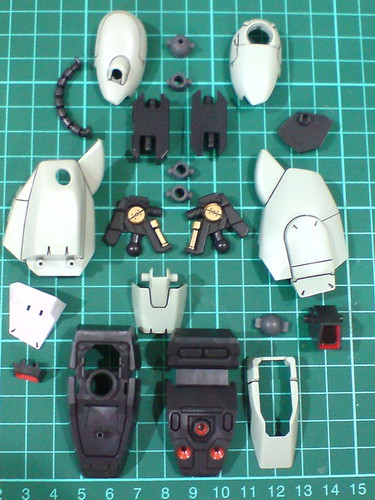
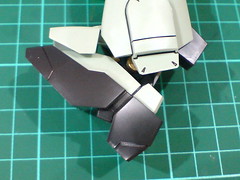
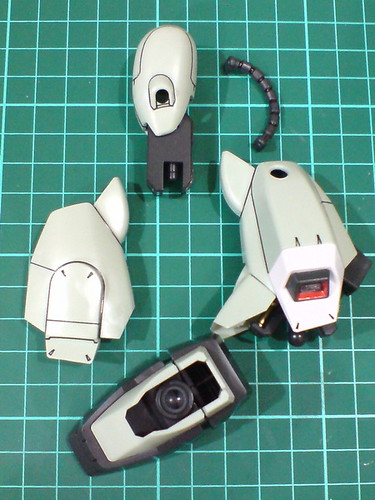
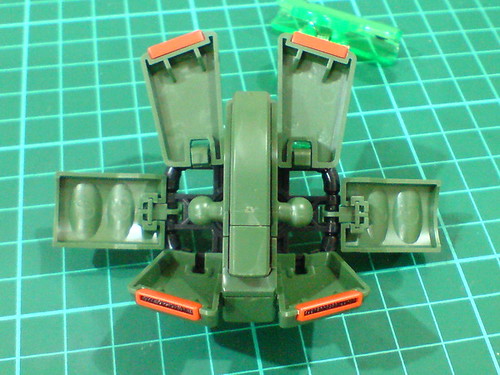
Parts of the waist.
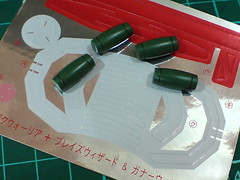
Foil stickers are used for the grenades' stripes.

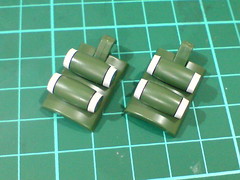
(Left) The stickers' folding edges are deliberately positioned to the inner face of the stickers so that they won't be noticed in front.
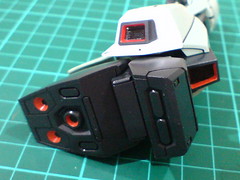
(Right) Mounted the four grenades onto the side skirt armors.
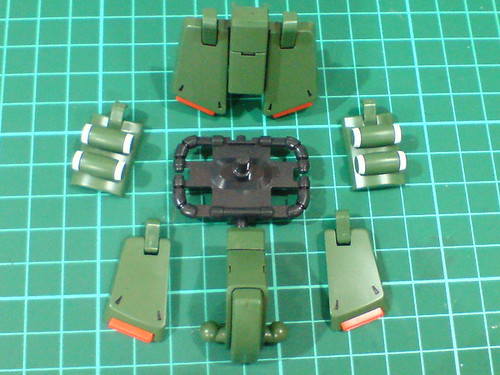
Separable components of the waist before the final assembly.
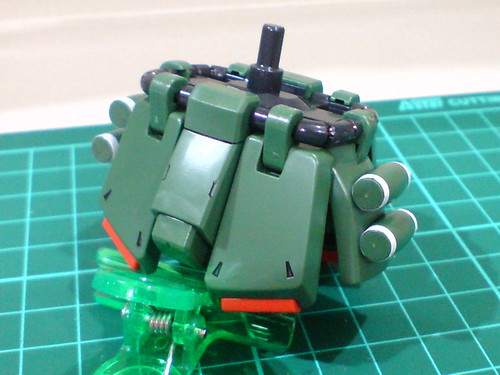
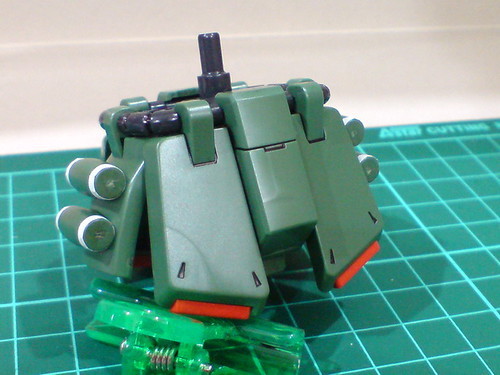
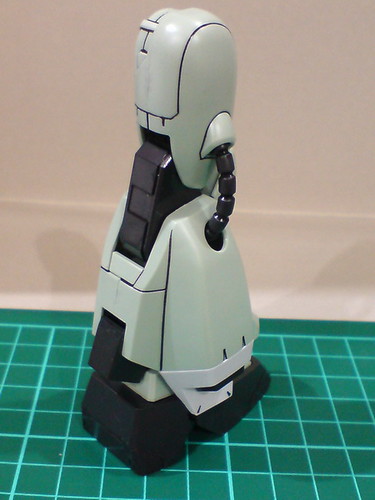
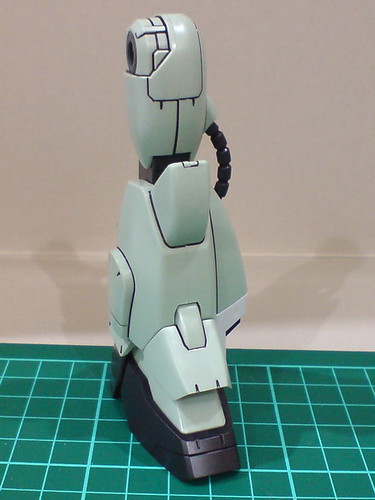
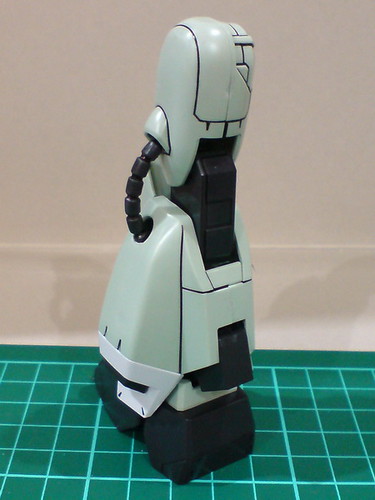
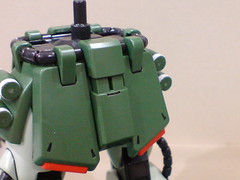
Done for the waist.
Absolutely nil for the details beneath the skirt armors makes me appropriate those simplistic line details beneath 1/100 Legend Gundam's armors more. ^^;

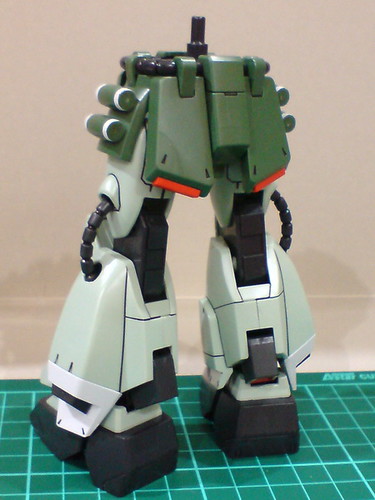
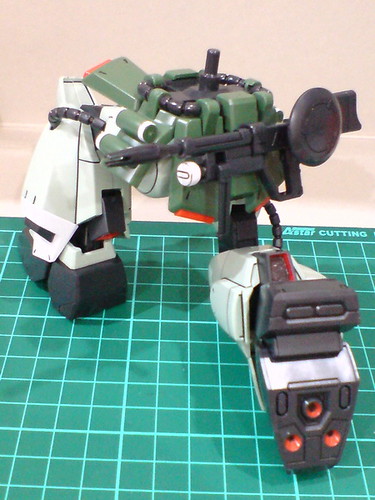
With the legs attached, the entire lower body is done.
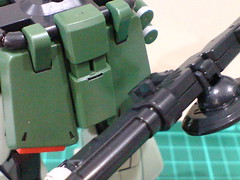
The rear skirt armor's mount rack can be slide downward for the beam rifle to be mounted onto it.
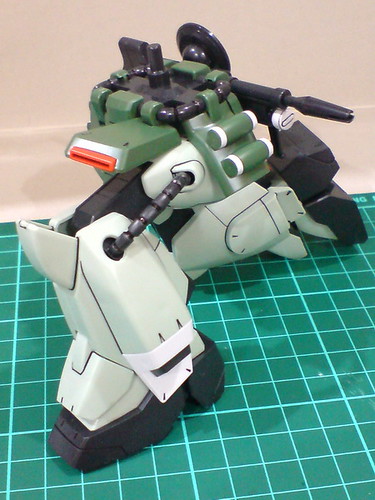

Despite the bulky look, the legs can be adjusted for a perfect kneeling pose. ^^
The very natural-looking kneeling pose really struck me as one of the great design features of this kit. ^^ It's not just the flexible knee joints that count, but positioning of the waist when the kneeling pose is adjusted is also very important so that the upper body could be in a natural-looking position as well. As far as I can see right now, the kneeling pose looks better than that of 1/100 Gundam Exia. ^^
Will be assembling the two weapon packs next. ^^


No comments:
Post a Comment