Rolling out the second Master Grade kit of this year for me after Gundam AGE-1 Normal: Zaku II F2 EFSF Ver., after leaving it in the closet for more than a month now. ^^;
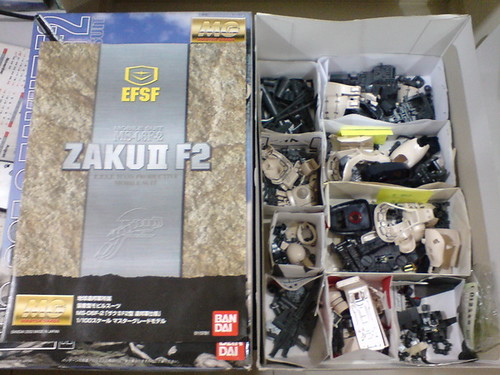
It's going to be a huge contrast to Gundam AGE-1 Normal in terms of, well, age (^^). A few months short of a decade between the two's release dates which obviously mean a mountain of differences in various aspects, and that's what make this particular kit so special I think. ^^
Incidentally, Zaku II EFSF Ver. is also the oldest kit (in terms of its release date) to be featured on this blog so far. ^^ The most "senior" guy before him is Gundam Mk. II Ver. 2.0 which was first released in 2005 - about three years after the former came out. ^^; Zeta Plus is an older release than this Zaku II, but I have yet to build it, so the title of the "oldest" MG to be reviewed thus far on this blog will belong to Zaku II EFSF Ver. at the end of this review. It's an honor really. ^^
I like all my models just the same, but after building so many newer releases, it will be great to try on something vintage but view it as a new experience. ^^ It feels like visiting an old friend when everyone is much older, when you could see things with new ideas and perspectives because of the experience built up after all these years, but there's still that good fun that you enjoyed in the past. ^^
Onto the kit itself! ^^
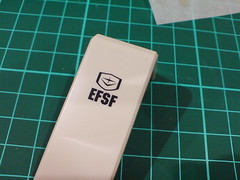
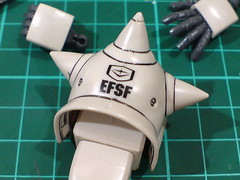
Applied a dry transfer decal featuring EFSF emblem (UC0083 style) to the right shoulder shield before starting the assembly on any component.
EFSF emblem on a Zaku? Blasphemy! XD
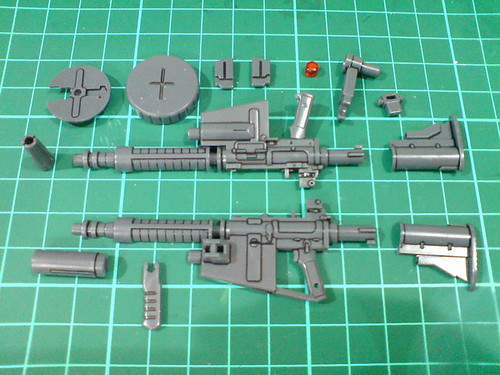
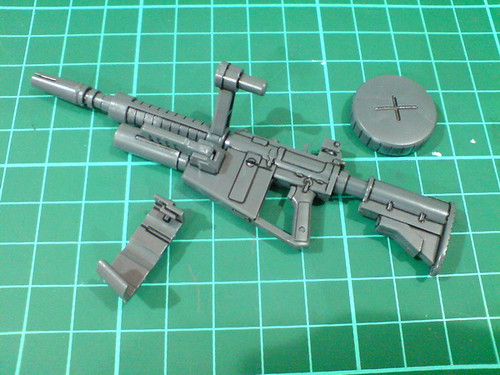
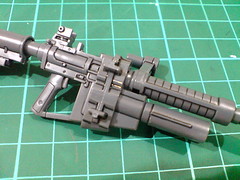
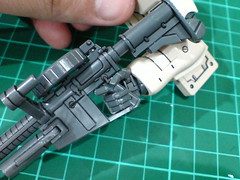
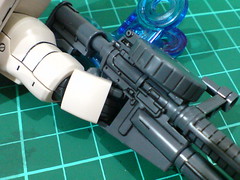
Parts of MMP-78 120mm Zaku Machine Gun
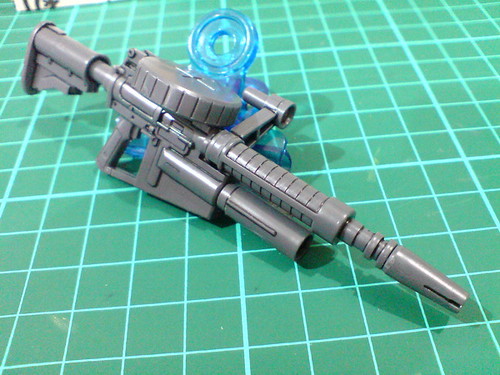
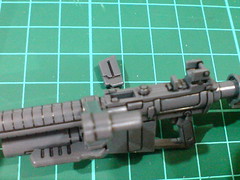
Done for this classic Zaku II weapon.
It's actually a renewed design by Hajime Katoki. The larger stock and forestock makes the weapon seems much sturdier as compared to its UC0079 version in my opinion.


The forestock can be retracted.
The targeting scope and supporting handle are movable.
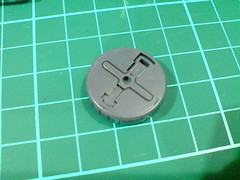
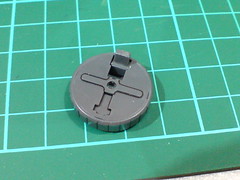
A small tab beneath the ammo drum can be lifted for the magazine to be mounted on the skirt armor.

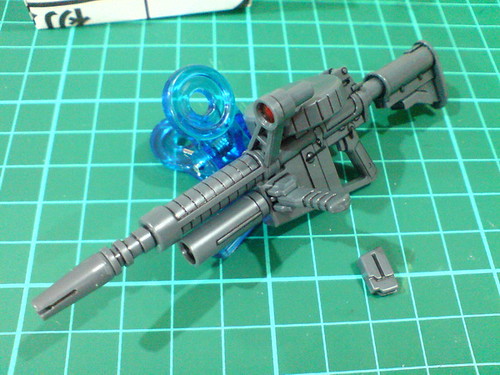
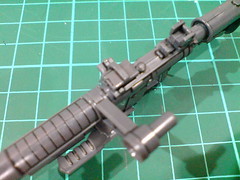
The small clip shown in the image featuring the completed machine gun earlier on is actually the anti-air type ammo. The default drum-type magazine must be removed first for the clip to fit into its designated slot on the weapon.

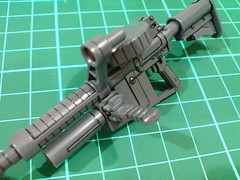
Zaku Machine Gun with anti-air type ammo clip.
I'm more used to the drum-type magazine on top of the machine gun, so its absence in this mode makes the whole weapon unappealing to me. ^^;
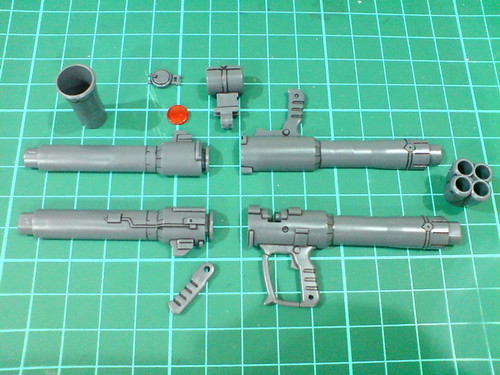
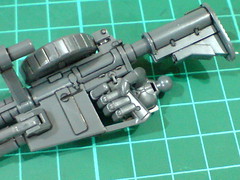
Parts of the 280mm Zaku Bazooka.

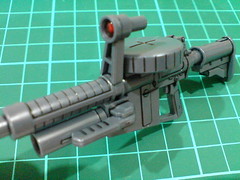
Done for the bazooka.
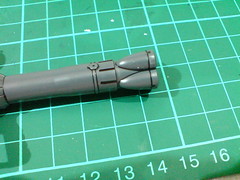
Overall length of the bazooka is about 15cm.
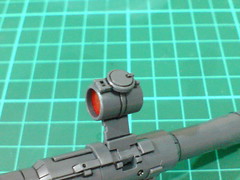
The targeting scope features a fixed cap, which was later "upgraded" to a movable one for the same weapon used by MG Zaku II Ver. 2.0. ^^
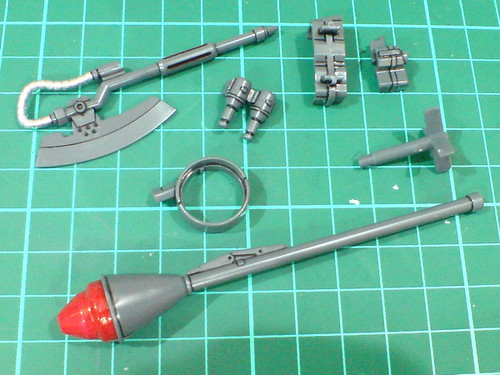
Other weapons and mount rack parts.
Except for the Sturm Faust, all the components are made of one-piece parts.
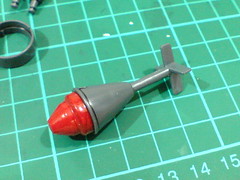
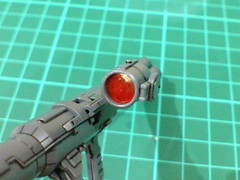
Part-swapping for the Sturm Fault to display it in "deploy" mode that features a shorter stick with a sets of stabilizer fins on its rear end.

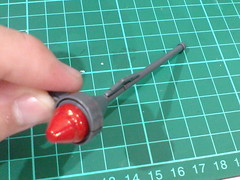
A small groove on the Sturm Faust's warhead that correspond to a small tab inside the weapon's mount rack helps its positioning in storage mode, but the connection is pretty loose to allow the weapon to be removed easily.
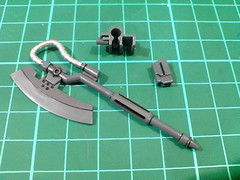
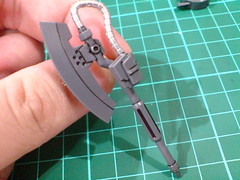
The Heat Hawk and its mount rack.
The cool feature about the mount rack is the inclusion of a slot for the anti-air clip. Since I don't like it on the machine gun, the clip would more likely be sitting on the rack more often than the Heat Hawk. XD
To use the machine gun's mount rack, the ammo drum must be removed first.
The mount rack tabs onto the slot meant for the anti-air clip.
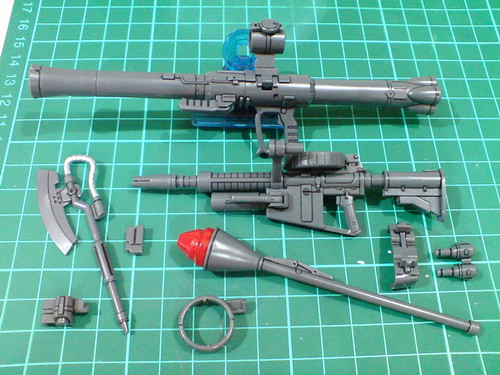
A gathering of all weapons and related components for this MG.
Not mentioned any way before this is the set of two little fixed hand grenades shown near the bottom right. ^^

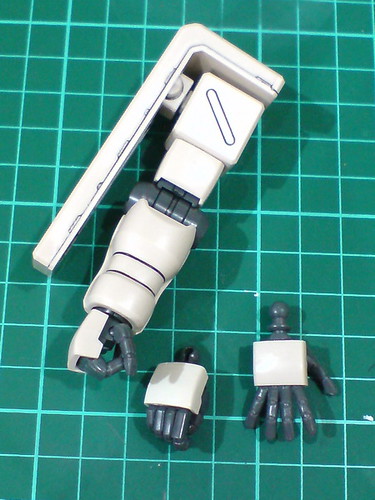
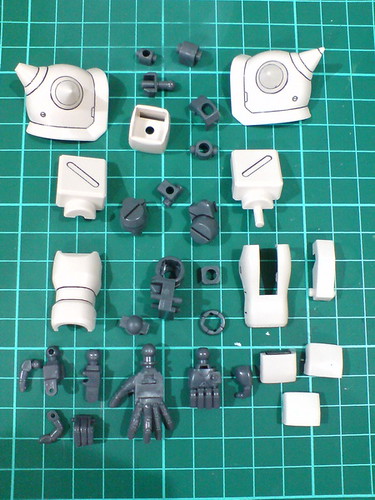
Parts of the right arm.
Since it doesn't feature an inner frame, the entire arm will be assembled in one shot.
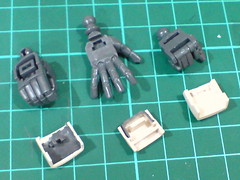
Three different hand units with armor parts that feature different design for their connectors

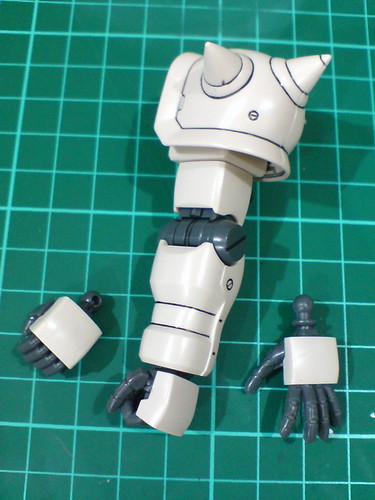
Separable components of the right arm before the final assembly.
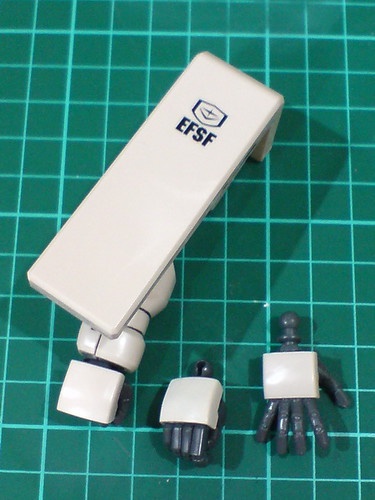
Done for the right arm.

Exactly 90-degree bend for the elbow. ^^

Part-swapping to get the trigger-type hand unit to grab onto the machine gun's handle.

Nothing too spectacular about the special hand unit actually. ^^;
But I'm very happy with the paint outcome of the hand armor. ^^
The normal hand unit with movable finger segments works just as well to grab the machine gun. ^^
Parts of the left arm.

Separable components of the left arm before the final assembly.
Done for the left arm.
Clear sticker featuring EFSF emblem is applied to the completed shoulder armor.
The exact same articulation range for the left elbow, obviously.
Both arms are now completed.
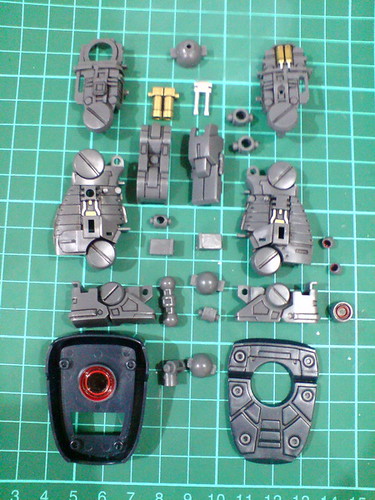
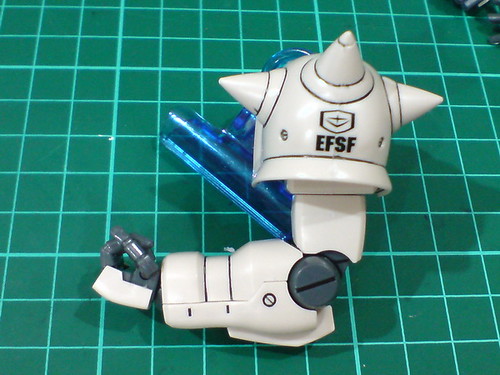
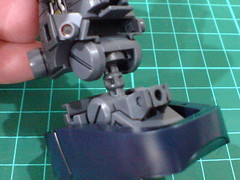
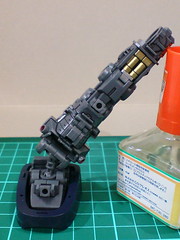
Inner frame parts of the right leg.
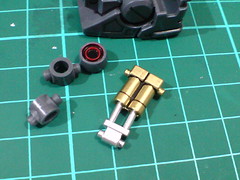

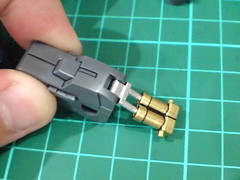
Functional hydraulic pipe sets for the knee joint. Very nice. ^^
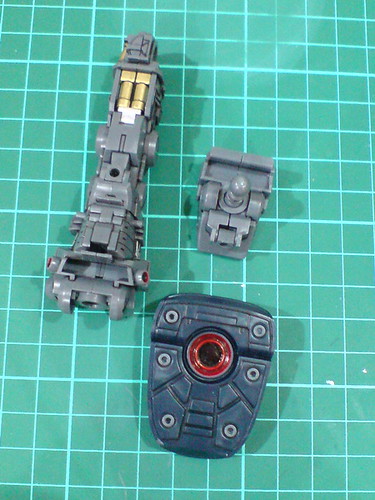
Separable components of the right leg's inner frame before the final assembly.
Since all components of the leg itself are non-separable, the only real assembly is for the ankle and foot. ^^;

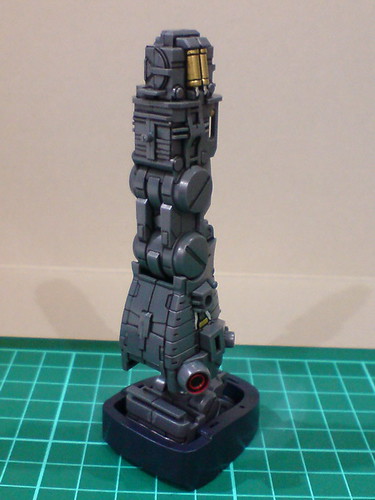
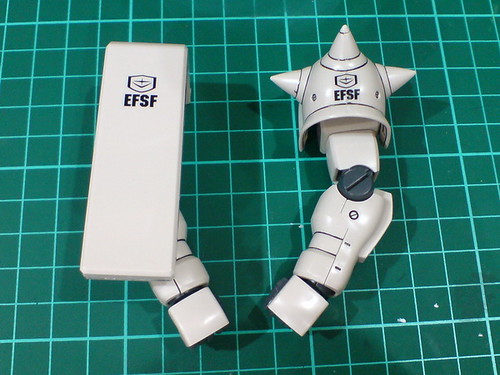
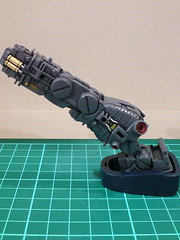
Done for the right leg's inner frame.
Just a single bar with two ball-type joints work as the ankle joint. ^^


Functional hydraulic pipe sets for the knee joint. Very nice. ^^
Oh, did I say the same thing just now? XD

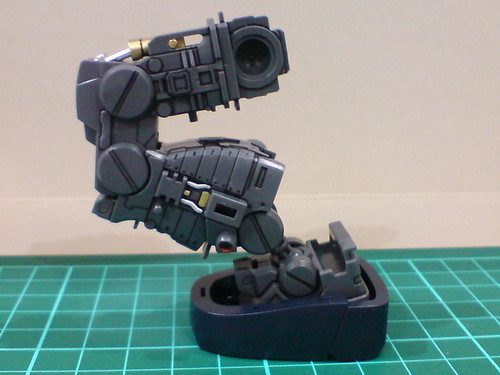
Very nice articulation for the knee and ankle, definitely a huge improvement over the previous version of MG Zaku II - Ver. 1.0. ^^;

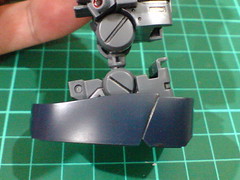
As shown in the image before this, the heel can be lifted outward from the shoe for a slight degree via a joint at the front portion of the foot.
The only thing missing for a really awesome articulation design is separated front and heel it seems. ^^

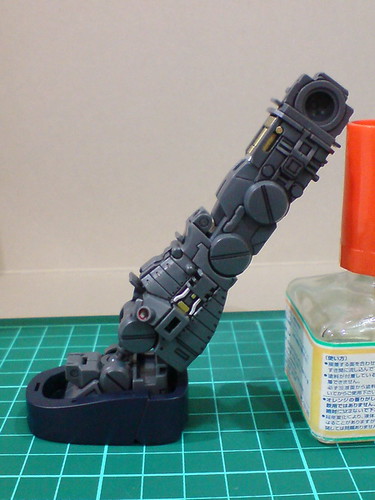
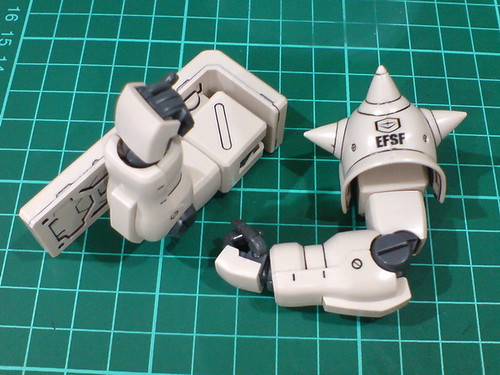
The double-jointed ankle part shown earlier on allows pretty wide side-to-side and forward/backward bends for the leg.
Inner frame parts of the leg leg.

Done for the left leg's inner frame.

Hydraulic pipes of the left knee joint.
The same articulation design as the right leg.
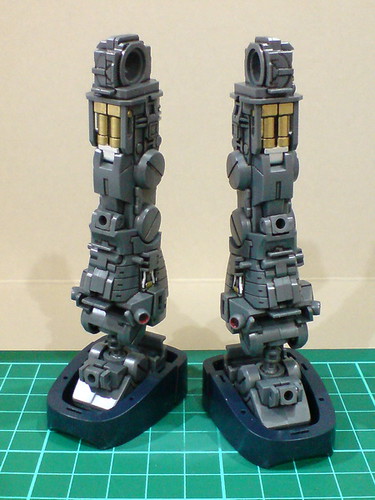

Done for both legs.
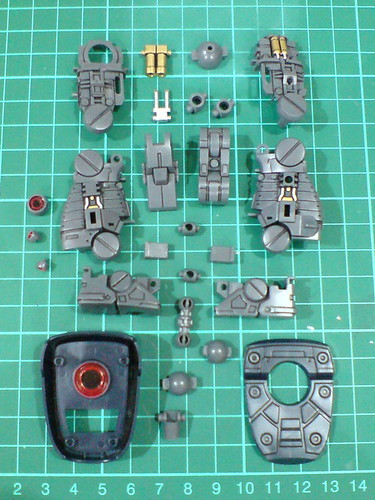
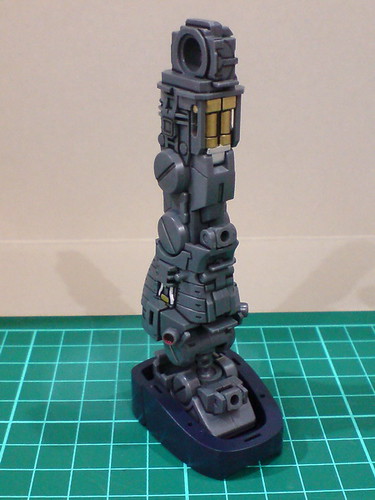
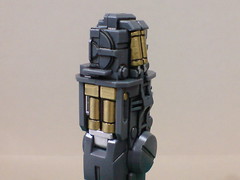
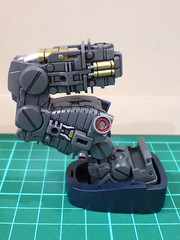
Will move on to the body module's assembly next. ^^


No comments:
Post a Comment