Another batch of work on HG 1/144 scale Ali al-Saachez's Customized AEU Enact Custom after the previous posting. ^^
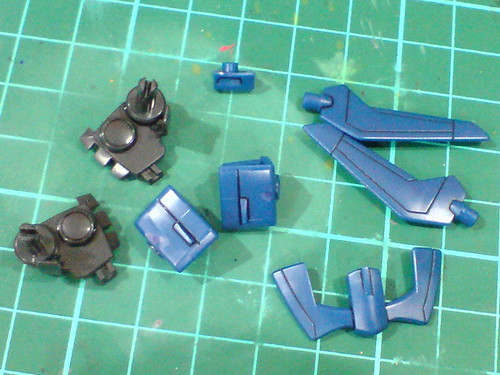
Normal panel lining for the waist parts.
Excessive Panel Line Accent Color paint on the wings done in Part 2 is wiped away using cotton swab soaked with thinner.
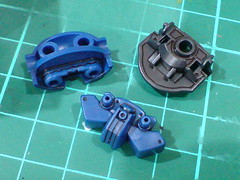
Interior of the rear thrusters is painted using panel liner.
The sunken areas beneath the front skirt armor are going to be painted black later. ^^

Simple panel lining for the body parts.
Like the rear thrusters, the interior of the backpack thrusters is also painted using panel liner.


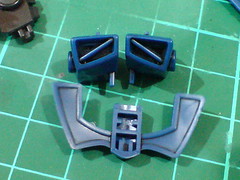
(Left) The border between the top and bottom backpack parts are painted black using normal marker.
(Right) Vents on the chest part are also painted black.
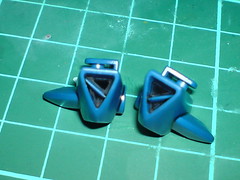
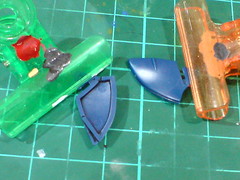
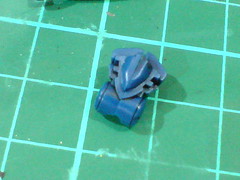
Parts with intricate molded details are panel lined using a combination of normal panel liner and Panel Line Accent Color (Black).
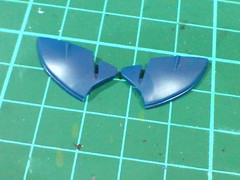

Like the large fins on the parts, the edge of the shoulder plates should be painted black.
The black edge extends from an entire segment beneath the plate, which should also be painted.
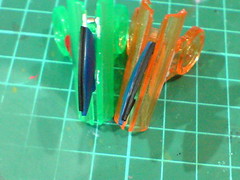
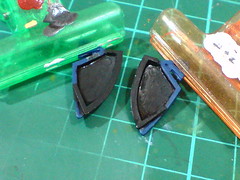
Painted the parts using Gaia Color 022 Semi Gloss Black.

Excessive paint on the parts is scratched away using a knife. Minor panel lines are added as well.
The protruding face area does come with a silver foil sticker sheet, but I figure it would yield the same result if I paint the parts now. ^^ Pilot Super Color Silver Extra Fine marker is used for the task.

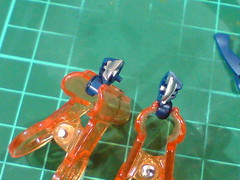
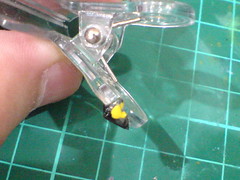
The clear black face plate is quite a challenging part to detail. ^^; It's small enough for the entire part to be handled properly, the molded color makes identifying the details very difficult as well. ^^;
The "tattoo" on the left cheek is cut carefully using a knife so that the "new" lines can catch the paint put over it later.
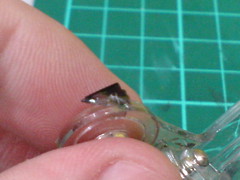
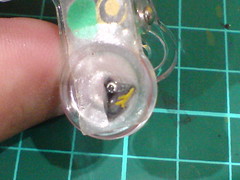
The initial color used is gold (left image), but the darker tone of the color seems somewhat less eye-catching as the next color used - yellow (right image). Both colors are from Gundam Markers.
While I'm satisfied with the second color, this detailing method proves to be futile as the paint would be wiped completely clean, leaving no details whatsoever on the face plate. ^^;
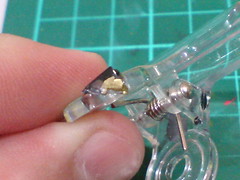
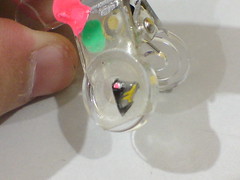
Doing it the long way then: ^^; the marking on the left cheek is painted using sharpened toothpick with Gundam Marker Yellow paint. ^^
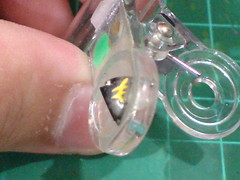
The "base" of the mono-eye camera is painted using normal silver pen.

The camera itself is painted using Gundam Marker GM14 Fluorescent Pink.
Some rough bits around the yellow marking is scratched away using a knife to make it sharper looking. ^^
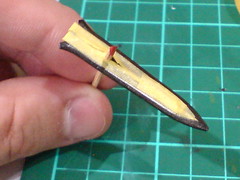
Back to the Blade Rifle's expanding blade left unfinished in Part 2. The edge is going to be painted silver (again). ^^;
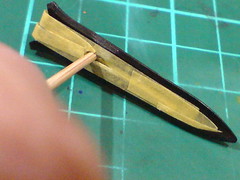
Masking tape is used to clearly separate the flat from the edge before the paint work.

Painted the part using Gaia Metallic Color No. 9 Bright Silver.
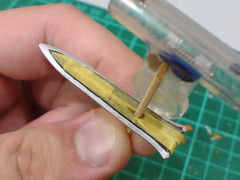
With the masking tapes removed when the silver paint has dried.
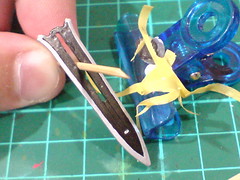
Using paint brush is a lot more flexible for such a long and curvy surface as compared using the tips of a paint marker directly. The paint result is a lot more accurate as compared to what I achieved in Part 2. The guidance provided by the masking tape is a great help as well, since the separation between the two segments is a lot clearer this time. The masking tape is not exactly used for its intended purpose for this task, but it's very useful to the entire task nonetheless. ^^
Overall, even though the number of parts for this kit is pretty low, the amount of detailing work is pretty considerate, and quite challenging at the same time. Due to the parts' unorthodox design, I'm very interested to see how the final result will turn out to be. ^^


No comments:
Post a Comment