The final assembly for HGUC Unicorn Gundam [Destroy Mode] continues after the previous posting. ^^
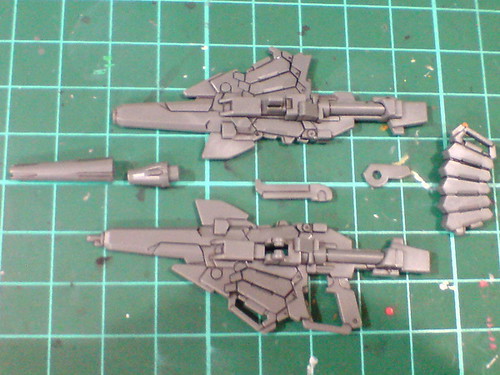
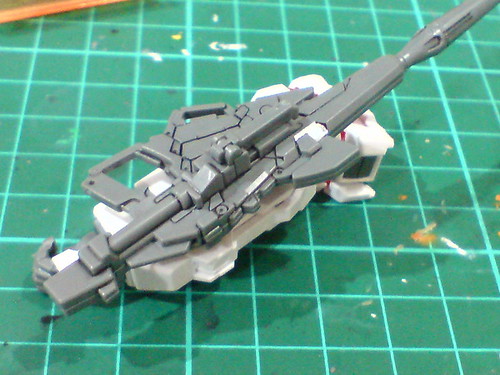
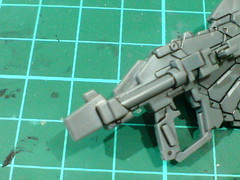
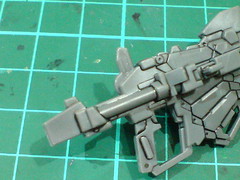
Parts of the beam rifle.
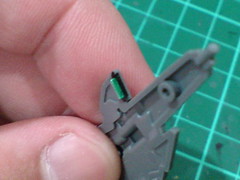
Foil sticker is used for the targeting sensor.
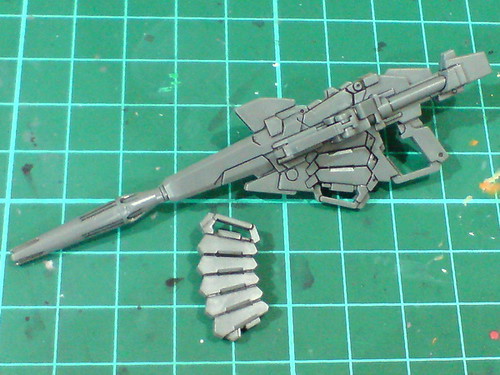
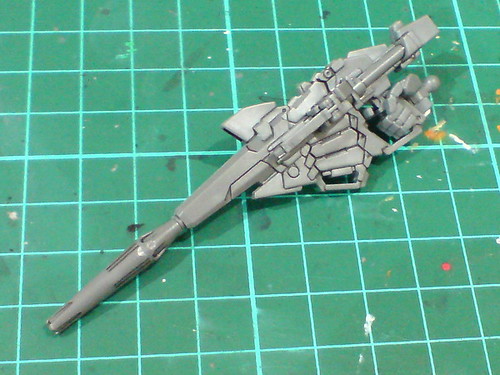
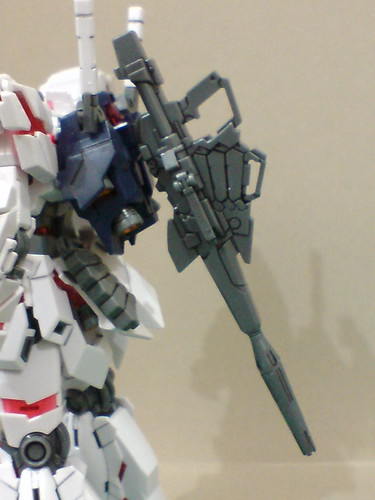
Done for the beam rifle.
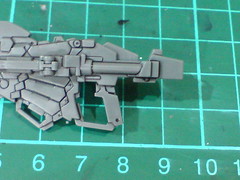
Nowhere near the Unicorn Mode's bazooka, the beam rifle is just 9.5cm in length.
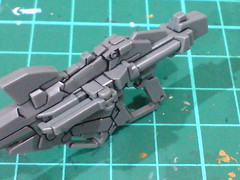
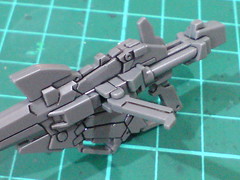
The supporting handle is movable. A tab on the back of the rifle can be flipped out to mount the weapon to the backpack.
A fixed tab on the opposite side of the supporting handle can be used to mount the rifle to the forearm.
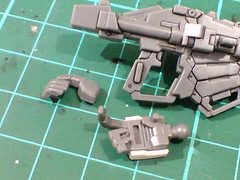
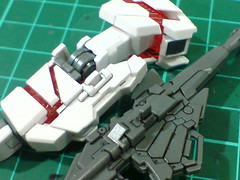
While the rifle isn't heavy at all, there's a tab on the handle to secure its connection to the palm area of the right trigger-type hand unit.
The extra magazine set can be mounted onto the rear skirt armor.
Since its opposite face is hollow, this one-piece part can only sit on the left hand side of the rear skirt armor. It's a perfect compliment for the Unicorn Mode's extra bazooka magazine that occupies the right hand side of the armor.
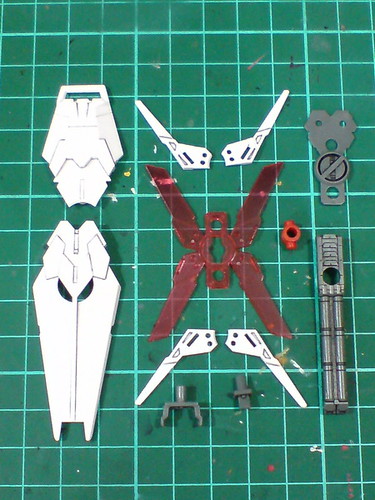
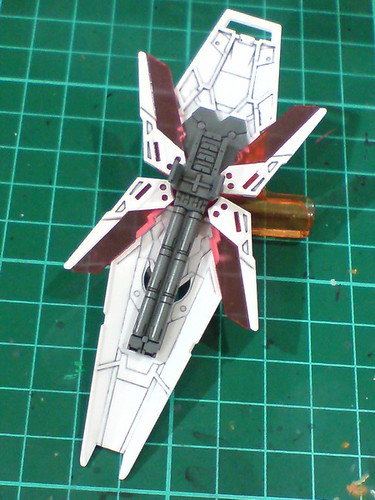
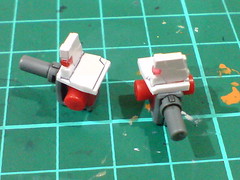
Parts of the shield.
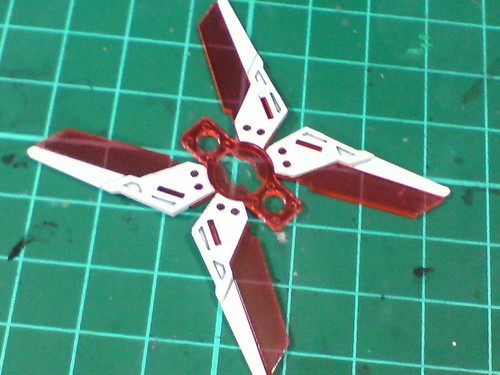
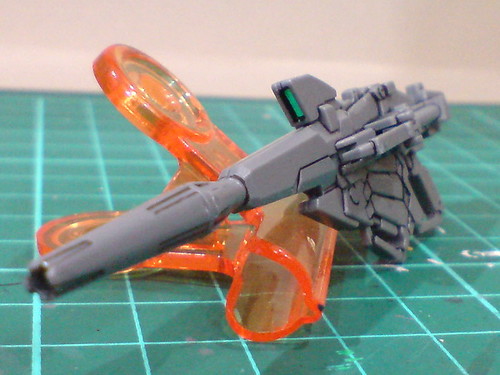
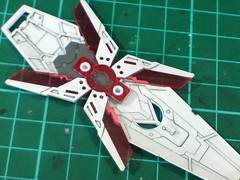
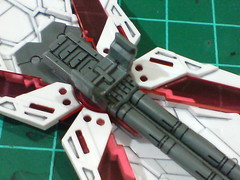
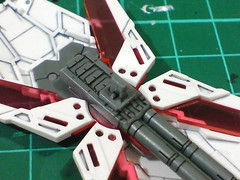
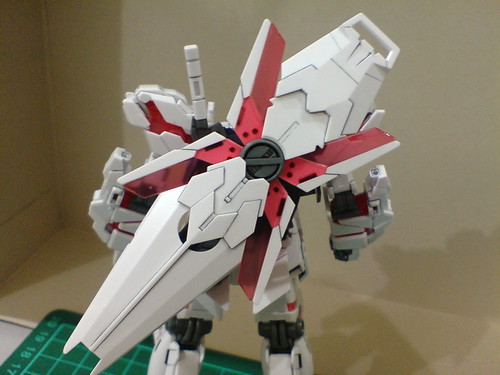
The very nice-looking X-shaped Psycho Frame part for the shield. ^^
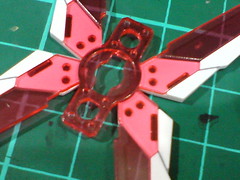
The color contrast formed by the white frame behind the clear red part, especially through the round pegs give this Psycho Frame component a very special look. ^^
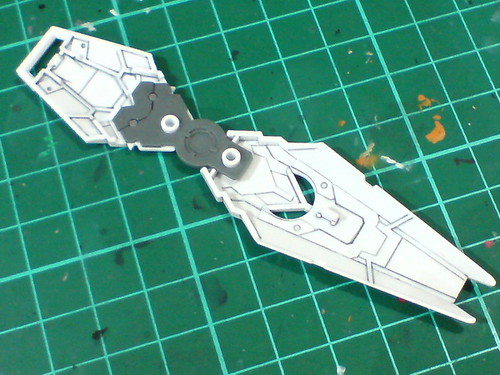
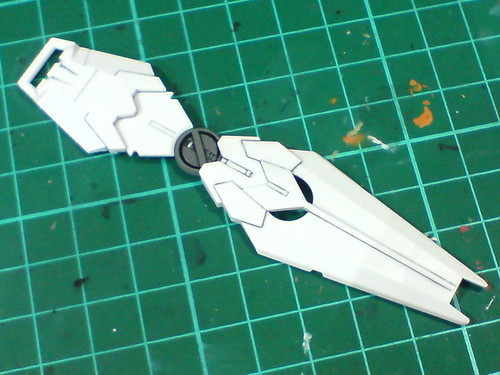
Panel line details in front and behind the shield plate that were done in Part 3.
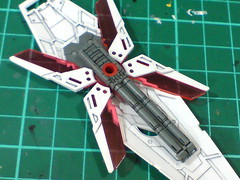
Connected all the loose parts.
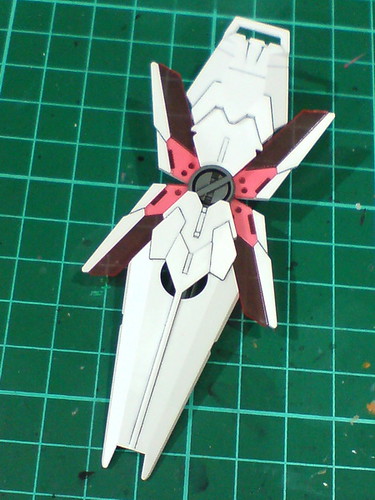
Done for the shield.
Like the Unicorn Mode, there are two ways to attach the shield to the model's forearm.
This is the default clip-type mount rack.
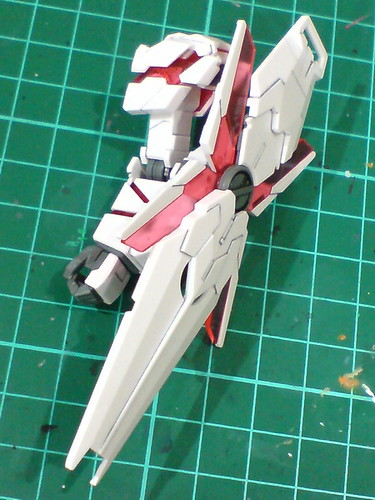
Using the clip-type mount rack, the shield can be mounted on top the forearm.
The optional tab-type connector.
Using the optional connector, the shield can be mounted behind the forearm.
I rarely use the shield in this manner, so this optional connector is usually for mounting the shield onto the backpack.
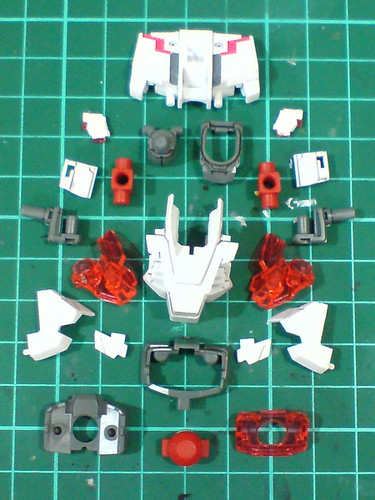
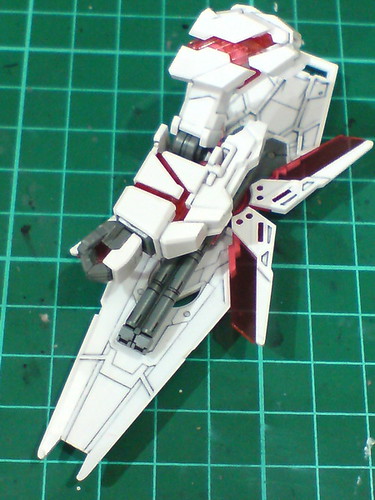
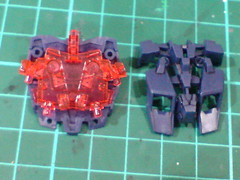
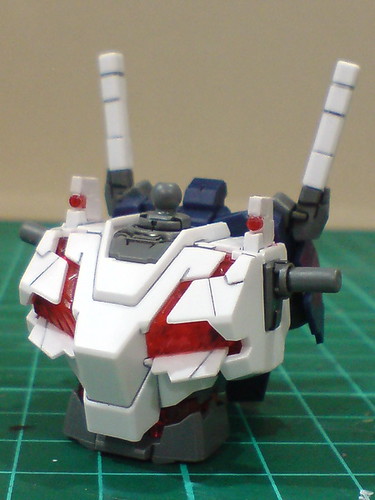
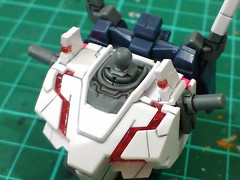
Parts of the body.
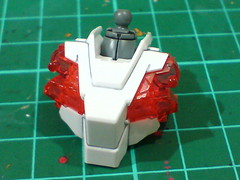
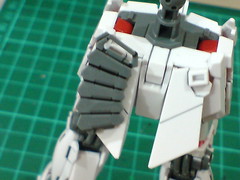
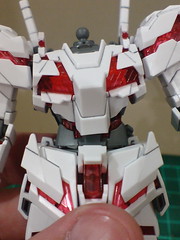
Very nice part separation for the chest to show off the splits that reveal the Psycho Frame components underneath.
It's great to see that the painted shoulder pieces look consistent with the white armor parts in terms of their overall color. ^^
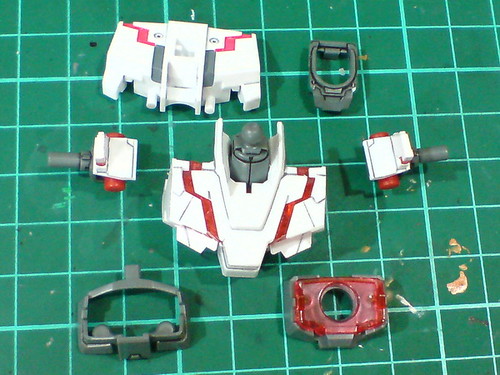
Separable components of the body before the final assembly.

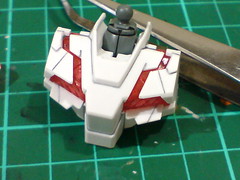
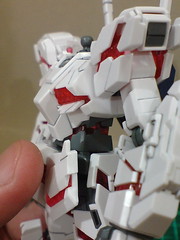
From top view, the shoulder blocks' connection to the rear body part looks pretty seamless. ^^
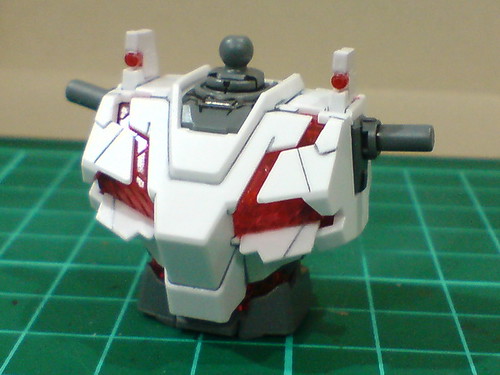

Done for the body unit.
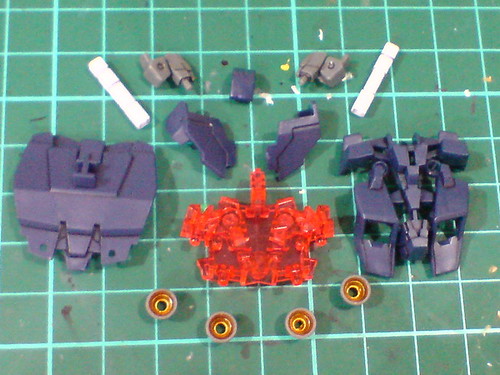
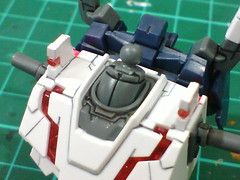
Parts of the backpack.
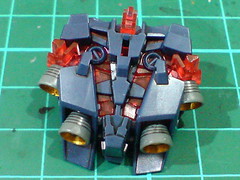
Those really intricate molded details of the backpack and Psycho Frame parts are revealed in full glory for the Destroy Mode. ^^
The backpack is completed.
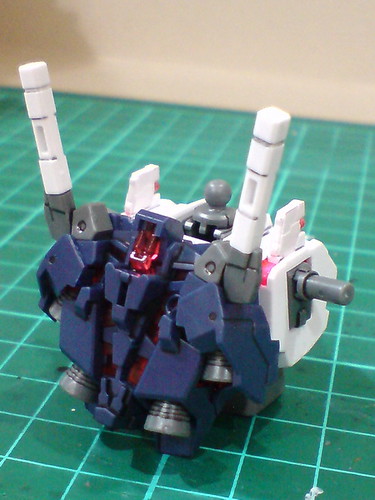
The backpack is attached to the body unit.
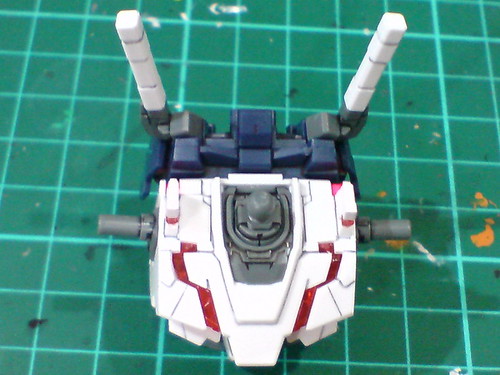
Top view of the body module.
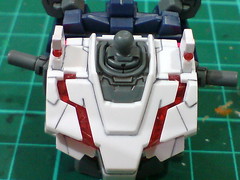
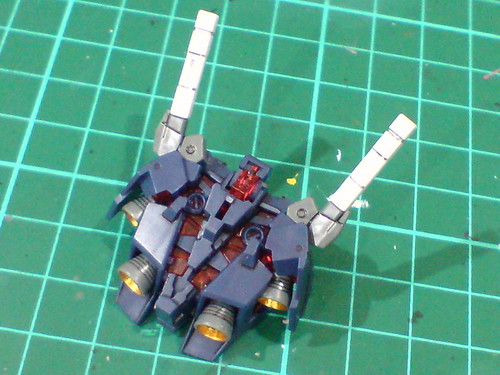
The shoulder joint can be tilted upward.
The neck joint can be bent upward for a wide degree.
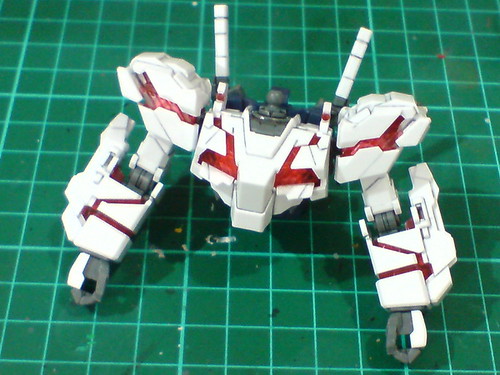
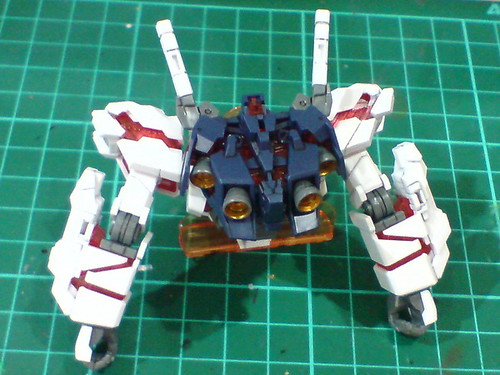
With the arms completed in the previous posting attached, the upper body is done.
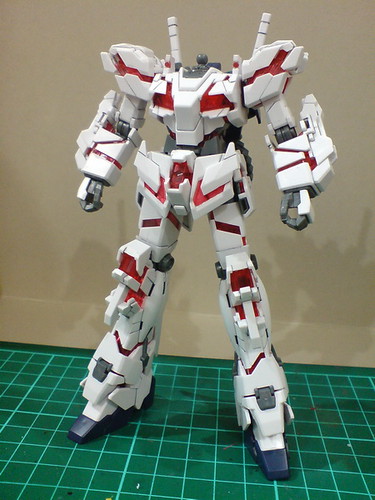
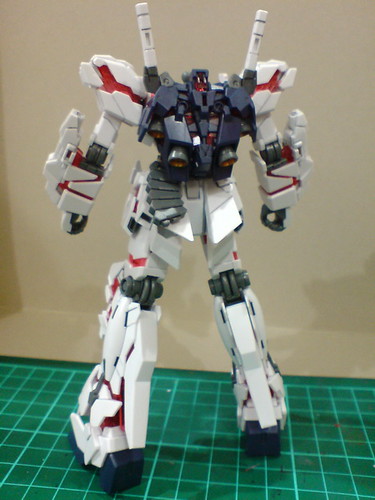
With the lower body attached as well, only the head remains on the list. ^^


The waist can be stretched upward to enable a much wider range of movement for this body component. ^^
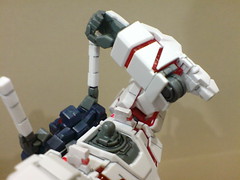
Unfortunately, the elbow joint cannot be adjusted to the right angle for the hand unit to reach for the beam saber. ^^;
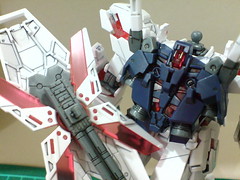
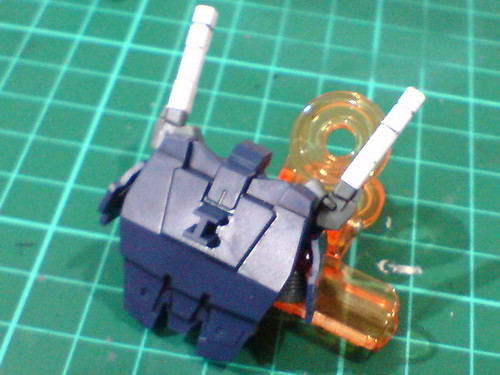
As mentioned earlier on, the optional connector can be used to mount the shield onto the backpack.
Like this.
Using the weapon's tab to "hang" the beam rifle onto the backpack via the same square slot for the shield.
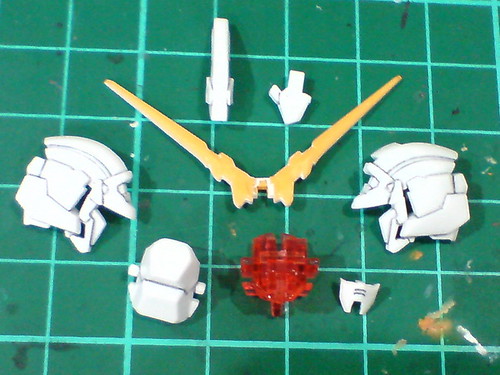
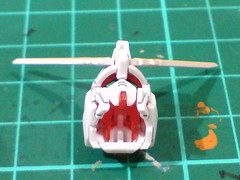
Parts of the head
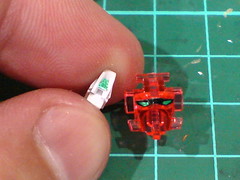
Foil stickers used for the eyes and forehead sensor.
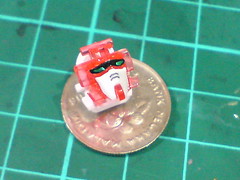
A really small white mask part for the face. ^^
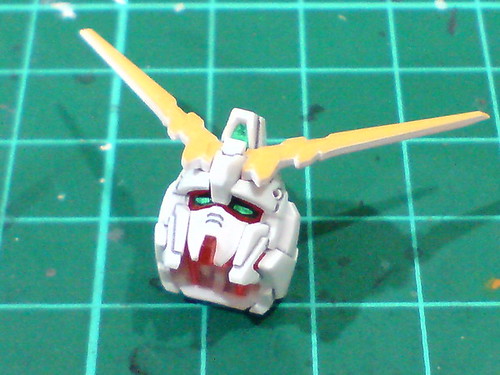
Done for the head. ^^
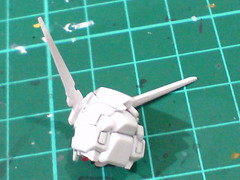
It's good to see that the white paint behind the V-Fins done in Part 2 came out nicely. ^^
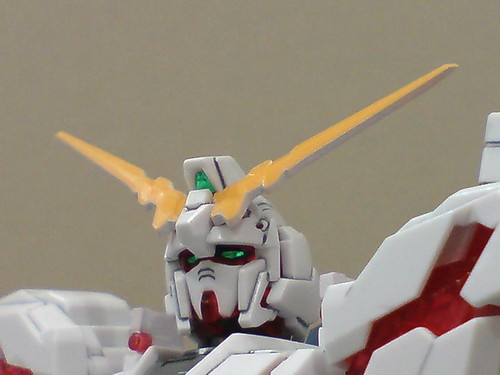
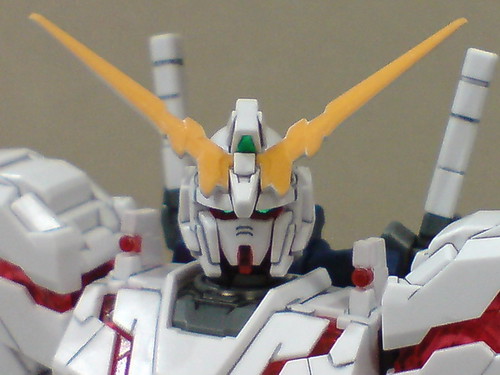
Connected the head to the neck joint.
More images of this just completed High Grade kit coming up next. ^^


No comments:
Post a Comment