Continuing the work on D-Style Ingram Unit 1 after the previous posting:

Panel lining done for the main leg parts.

Much like the upper arm parts shown in the previous posting, there's an obvious line right down the middle on each thigh. That line isn't molded on the leg parts, but can be realized very easily using a bit of paint work. ^^

The edges of the split between the thighs are painted black using a normal marker. The line formed by the paint will become the missing line detail on each thigh.
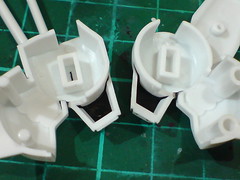
Test fitting the detailed parts to see how the legs would turn out when assembled. ^^
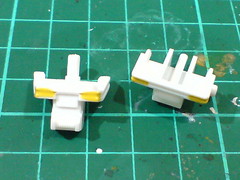
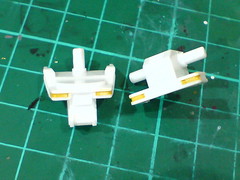
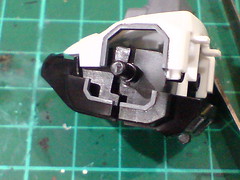
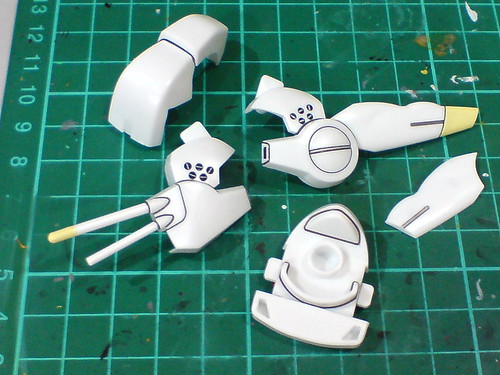
(Left) With excess gray paint behind the shield scratched off using a knife.
(Right) With panel lines added to give the molded details a more solid look.
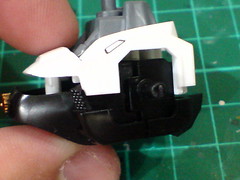
Detailing in front of the shield.

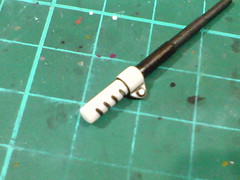
(Left) Realizing that gray doesn't look impressive on the stun stick, it's repainted with Gaia Metallic Color No. 020 Gun Metal, along with the body of Revolver Cannon.
(Right) Panel lining on the stun stick handle. Just like that on Revolver Cannon, the handle is not painted to avoid the paint being scratched off by the kits' hands later on.
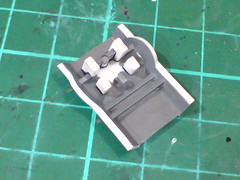
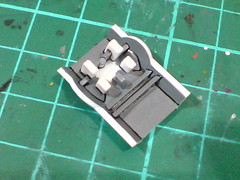
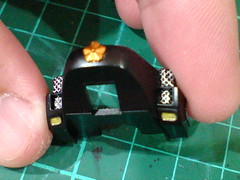
(Left) The yellow lights on the waist parts are painted using Gundam Marker.
(Right) With excess paint scratched off using a knife.
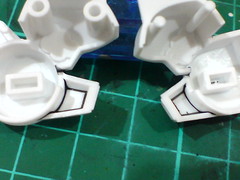
(Left) Panel lined the two parts using a combination of regular panel liner and Tamiya's Panel Line Accent Color (Black).
(Right) The fixed towing cable section is painted using normal marker.
The black bars around the waist are painted using normal marker.
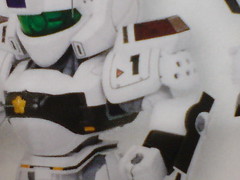
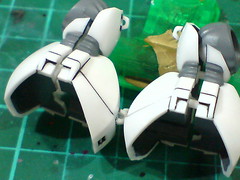
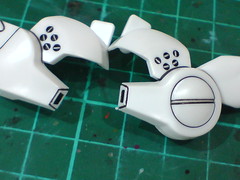
The edges of the shoulder blocks are shown to be in gray in the instruction manual.

(Left) The edges are painted using Gundam Marker.
(Right) The undersides are painted as well to help conceal the parts' base colors when the kit is assembled.

(Left) Excess gray paint around the backpack vents is cleaned using cotton swab soaked with thinner. Scratching the paint off using a knife would create some horrible-looking patches. ^^;
(Right) The chest lights and vents are painted using normal gold and silver pens respectively.
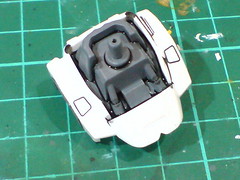
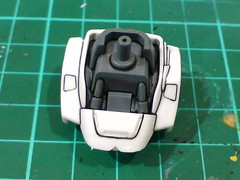
Tamiya's Panel Line Accent Color (Black) is used to outline the molded details of the neck area. The panel lining solution is extremely helpful to reach into tight corners inside the collar area. ^^
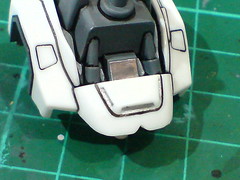
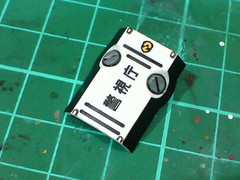
A piece of foil sticker from my spare sticker collection is attached to the frontmost panel to mimic the pilot module's "windscreen" as seen in the anime. ^^ Additional screen-like slits in front of the neck are painted using a normal silver pen.

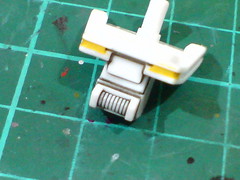
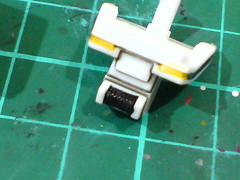
Test fitting the detailed parts to see how the body unit would turn out when assembled. ^^

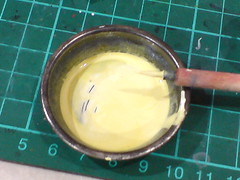
The "rabbit ear" and one of the antennas are painted light yellow using a mixed paint I created. ^^ The color tone makes the paint looks like corn milk. XD
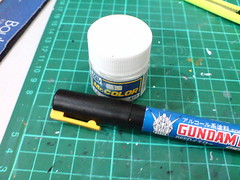
"Ingredients" for the mixed paint: Mr. Color No. 1 White Gloss (more) and Gundam Marker Yellow (minor).
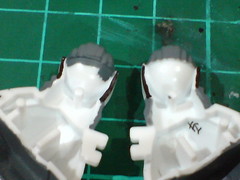
Excess panel liner paint on the two main head parts (from the previous posting) is cleaned using cotton swab soaked with thinner. Other line details on the parts are realized using a normal panel liner.
The interior of the sideburns are painted using normal black marker to simulate depth inside the two parts.
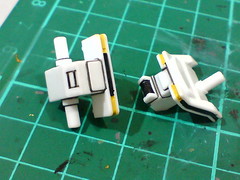
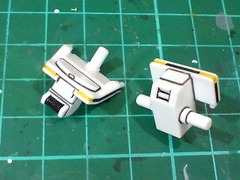
Detailing done for all the head parts. ^^
And so concludes the work for D-Style Ingram Unit 1. ^^ Overall, the work required to realize all the intended colors and details isn't too difficult, at least not as difficult as the work I did on my BB Senshi Sangokuden kits in the past. ^^; Having pre-painted parts does help to lessen the paint work required, although there are still a few other important parts that need to be painted. Personally, I like the tampo printed markings for the shoulder armor, shield and backpack more than those pre-painted parts. ^^ Besides the reduction in detailing workload, their "trace-less execution" is much better than clear stickers or even waterslide decals that one needs to apply onto the parts himself. ^^
Anyway, all the parts will be kept in its box for a while before the final assembly. ^^


No comments:
Post a Comment