Moving away from the same bunch of painted parts after the previous posting to start working on new components from Master Grade Sinanju Ver. Ka. ^^
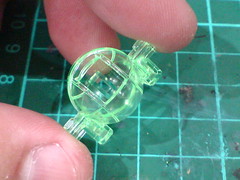
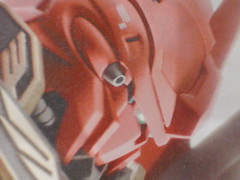
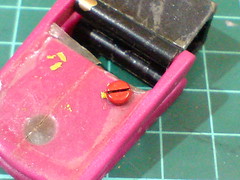
The connectors on either side of the cockpit module are going to be painted gray so that they would match the color of the body's inner frame.
This paint treatment would also help to highlight the complete spherical design of the cockpit module.

The tiny slots on the rear cockpit part's connectors are probably there just because of the molding process. They are going to be concealed to create a smoother surface on those two spots before the paint work.
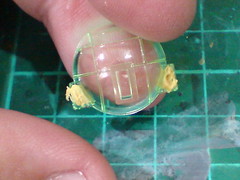

The said slots are filled up using Tamiya Epoxy Putty Quick Type.

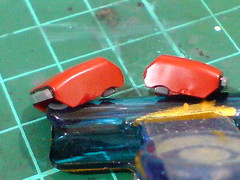
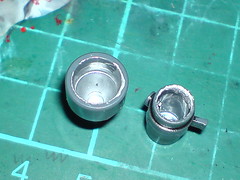
(Left) The cockpit parts are panel lined using a combination of normal panel liner, and Tamiya's Panel Line Accent Color (Black).
(Right) Thanks to the clear green molded color of the parts, the outline of the gray areas inside the parts can be seen very clearly, and that's certainly going to be very helpful when those areas are to be painted later.
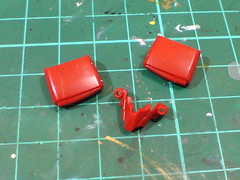
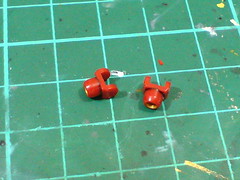
Other parts that are also selected for the paint work include the hand armors, and Sinanju's face plate.
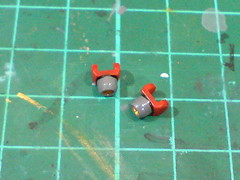
(Left) The pair of vulcan connected to the face plate are going to be painted gray.
(Right) Not shown even on the completed model in the manual, but the protruding front segment of the hand armor will be painted gray to relate it to the mechanical portion of the hand.
The exterior of the knee vents (with their interior painted gold in Part 8) are going to be painted gray as well.

All the parts are painted using a new gray bottle paint.
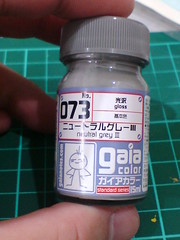
The new bottle paint for the paint work above: Gaia Color 073 Neutral Gray III.
Its lighter shade of gray is much closer to the inner frame color of this kit than all other gray paints that I have at the moment.
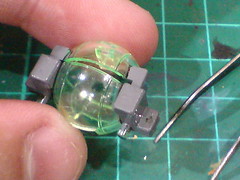
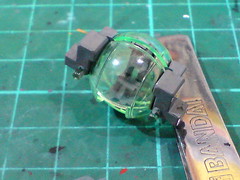
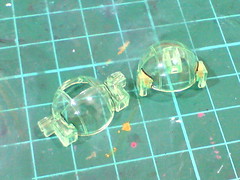
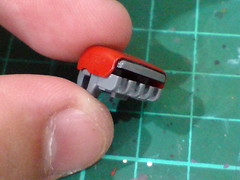
(Left) Test fitting the painted parts to see how the cockpit module would turn out when assembled. ^^
(Right) With the pilot seat attached. ^^

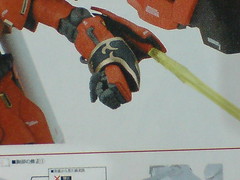
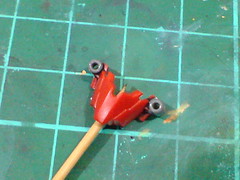
(Left) The border between the painted bars and the red hand armor is panel lined again to reinforce the line.
(Right) Last minute realization of missed paint work: the tiny protruding tip above the thumb joint is painted gray as well.
Test fitting the painted parts to see how the hand would turn out when assembled. ^^
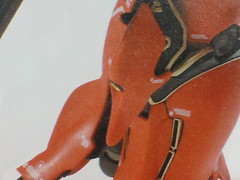
The borders between the painted areas and the red base parts are panel lined for the knee vents, and face plate.
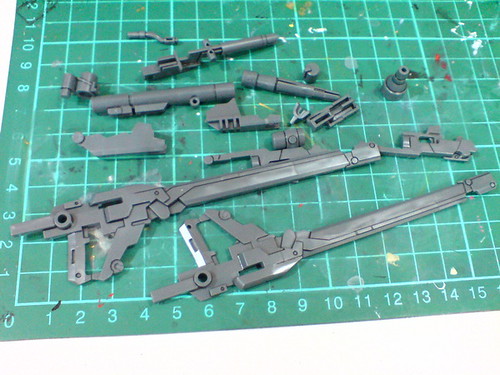
Simple panel lining for the beam rifle parts.

Some of the minor molded details on the painted tube part of the beam rifle (from Part 10) are panel lined as well.
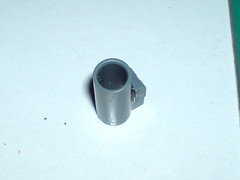

The empty grenade launcher doesn't seem like a powerful weapon. ^^;
Additional parts can be added to the front and rear ends to create "fake" rounds of grenade inside it. ^^
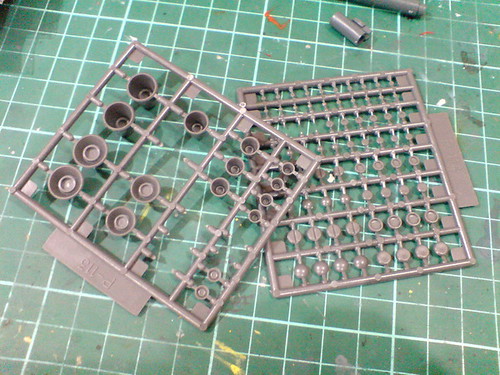
Additional parts needed for the work can be found on Modelling Support Goods (M.S.G.) Pla Units P-113 Vernier Nozzle III, and P-114 Round Mold II.
P-114 Round Mold II was used for the extra tube details shown in the previous posting. P-113 Vernier Nozzle III was previously used to enhance the details of HGUC Sazabi's Funnels, and to fix HGUC Gundam RX-78-2's hip joints.
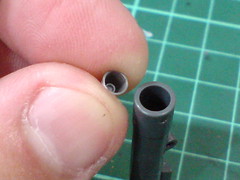

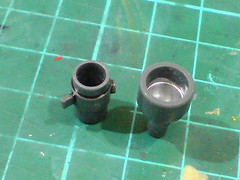
Comparing the opening, and tail of the grenade launcher to parts from M.S.G. Pla Units P-113 Vernier Nozzle III, and P-114 Round Mold II to find out the right tip, and thruster to be inserted.

A minus mold from M.S.G. Pla Unit P-114 Round Mold II that will form the head of the grenade.
The grenade is painted red using Gundam Marker, while the thruster is painted gold using Pilot Super Color Gold Extra Fine.

A little bit of Tack-It adhesive is inserted into the opening, and tail of the grenade launcher to form bases for the added parts.
The interior of the tail is painted black using whiteboard marker ink to enhance the sense of depth inside the part.

The thruster is inserted into the tail using a pair of tweezers.
(Left) The single molded line detail on the grenade cap is panel lined, before the part is inserted into the front opening of the grenade launcher tube.
(Right) The cap is positioned carefully to keep the line detail horizontally straight.

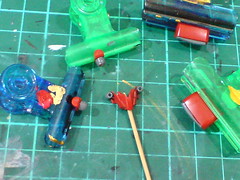
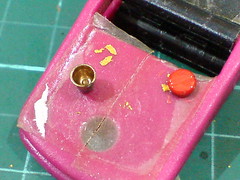
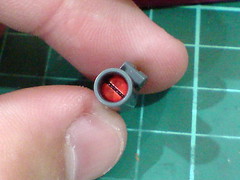
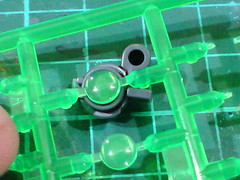
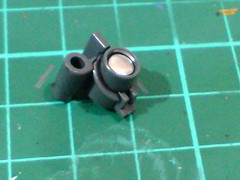
(Left) The very light clear green of the targeting scopes is a bit underwhelming, especially when coupled with the dark gray of the holders. ^^;
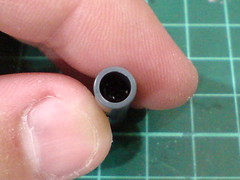
(Right) The rear end of the scope is totally blank. ^^;
The clear green mono-eye camera is going to be painted as well, to make it stand out more on Sinanju's face when the component is assembled.
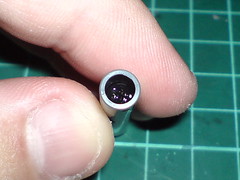
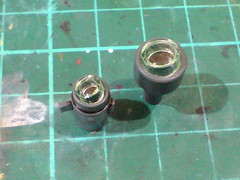
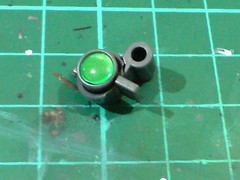
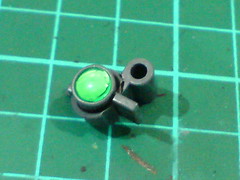
(Left) The interior of the targeting scope holders are painted using Pilot Super Color Silver Extra Fine to give the clear green parts a shinier, more outstanding background. ^^
(Right) Excessive silver paint on top, and near the inner edges of the parts is wiped away using cotton swab soaked with enamel thinner.

All three clear green parts are painted using Gaia Color 104 Fluorescent Green.
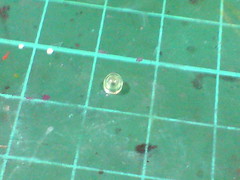
An extra clear green part for the rear scope is found on H-Eyes 1 (Green) from Wave. ^^
H-Eyes 1 (Green) was previously used for the weapons of BB Senshi Sangokuden Tenshouryu Koumei Nu Gundam, and Sonsaku Physalis Gundam.
The selected part is removed from its runner. The new scope fits the holder perfectly. ^^
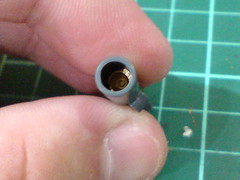
(Left) Like two other similar parts shown earlier on, the base of the scope is painted silver using Pilot Super Color Silver Extra Fine.
(Right) The new scope part is secured to the base using a little bit of cement for model kits.
Done with the work on the beam rifle parts, the shield, legs, and waist will be next. ^^


No comments:
Post a Comment