Starting to work on BB Senshi Sangokuden Shin Koshin Gyan after the introduction in the previous posting. ^^
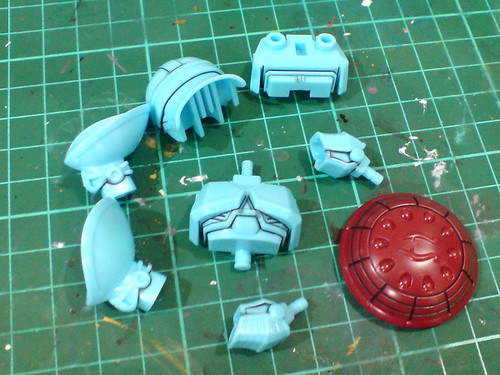
As usual, identifying parts from the kit to be painted, and the sequence for the different paints to be applied is the first step of the entire work. ^^
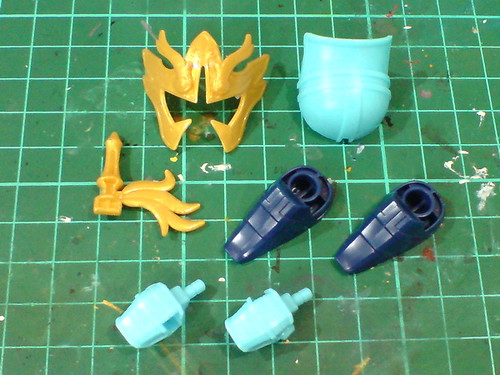
Gold paint needed for the headgears, rear head part, feet, forearm armors, ...
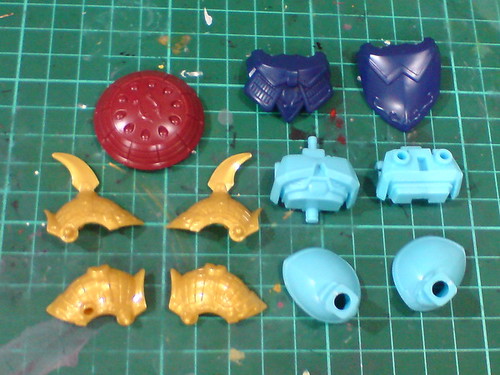
... shield, shoulder armors, front and rear skirt armors, body, and legs.
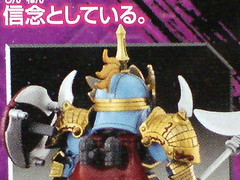
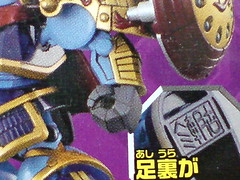
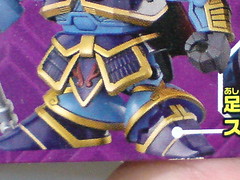
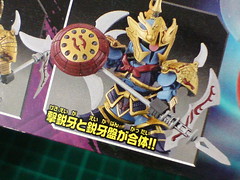
Referencing the boxside images for the various parts' intended colors.
All the golden stripes on the skirt and leg armors, and those tiny red ornaments on the shoulder and skirt armors are going to be a huge challenge to detail. ^^;

Besides gold as the main color for the shoulder armors, the two horns above them have to be in silver.


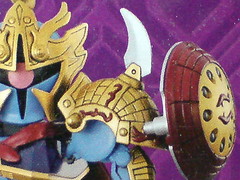
Gold for the cover, red for the details, and black for the bombs are the colors required for Koshin Gyan's shield, Eiga Ban (鋭牙盤).
Gold is the minor color for the upper body actually, as the two parts also require blue for the chest and back areas.
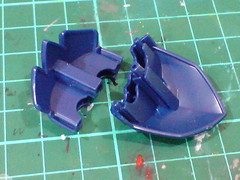
Interior of the leg and skirt armors are to be painted black.
Not shown here, the back of the shield is going to get the same paint treatment.
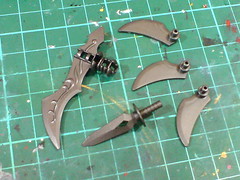
Much like its shoulder horns, all of Koshin Gyan's blade weapons need to be painted silver.
Like those on the shoulder armors, the molded red curvy ornaments on Geki Eiga (撃鋭牙 - the scythe) is going to require some careful detailing to realize. ^^;
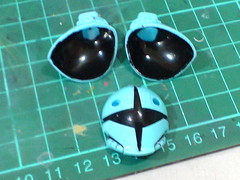
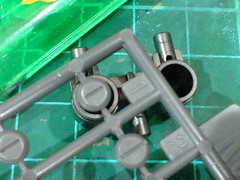
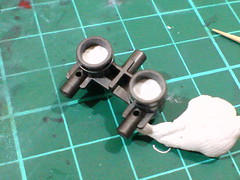
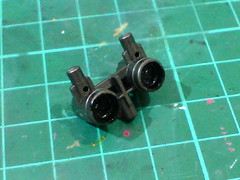
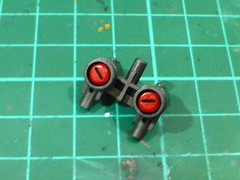
Some of the selected parts are panel lined using Tamiya's Panel Line Accent Color (Black).
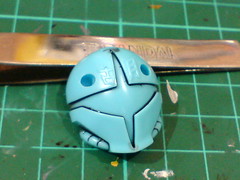
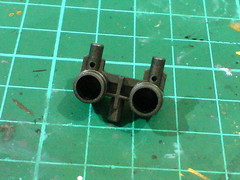
The panel lining solution made the work on the sharpest tip of the goggle area, and the narrow slits between the conductive pipes and the face so much easier.
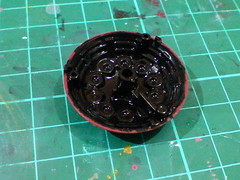
Painted the interior of the leg and skirt armors, and shield black using Gaia Color 022 Semi Gloss Black.
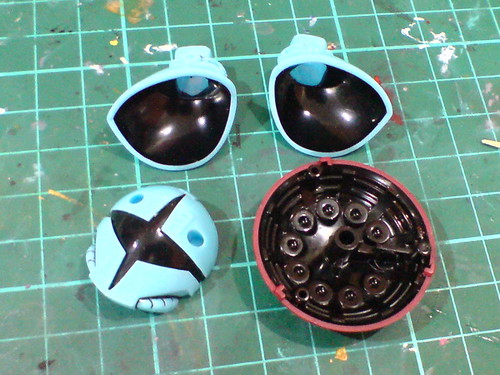
With excessive black paint around the parts scratched away using a knife.
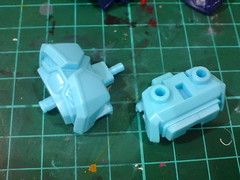
While the hollow spots inside the backpack are not too much a big deal - they are not going to be seen for most of the time anyway, I'm thinking of filling up the spots with extra details to give them a different look.
The largest piece from Modelling Support Goods (M.S.G.) Pla Unit P-101 Minus Mold seems to be a perfect fit for the hollow spot. ^^
P-101 Minus Mold was previously used on Master Grade Sinanju Ver. Ka to enhance some of its inner frame details.
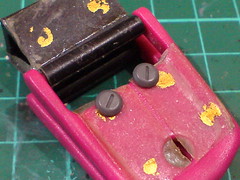
After the selected pieces are removed from the runner, and cleaned, they are painted red using Gundam Marker.
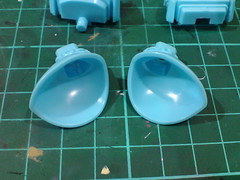
(Left) The interior of the thrusters is filled up using a bit of Tack-It adhesive to form the base on which the minus molds with sit.
(Right) The hollow spots are painted black using whiteboard marker ink to cover up the white filling. Excessive paint around the part is then scratched away using a knife.
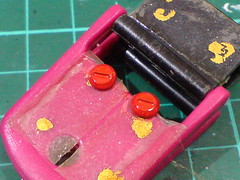
Once the red paint has dried, the minus molds are set into the hollow spots.
They are positioned carefully to give the slits an angled look. ^^
With the major paint work yet to start, I've already added a bit of my own details to one of the minor parts. ^^; Looking back, using the minus mold on the backpack part was really just for fun. ^^ Initially, I was thinking of listing the backpack as one of the parts to be painted red, for the thrusters obviously, before imagining another plan for it. Since the work on Master Grade Sinanju Ver. Ka was concluded not too long ago, the experience of experimenting with different add-on parts is still fresh in my memory, and that triggered the idea of giving some additional details to Koshin Gyan's backpack.
And what exactly do minus molds mean for Koshin Gyan exactly? I have no idea myself. XD
More paint work and detailing for Koshin Gyan next. ^^


No comments:
Post a Comment