Moving on to assembling the rest of MG Sinanju Ver. Ka's upper body components, after completing its shoulder armors in the previous posting. ^^
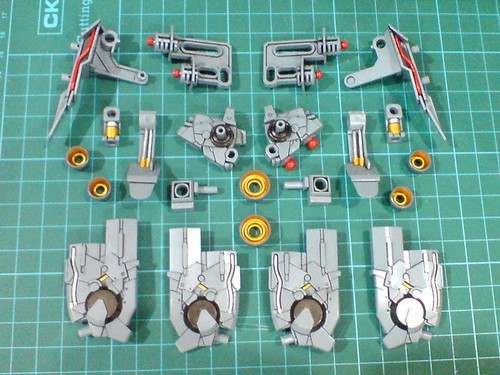
Inner frame parts for the backpack.
Extra pipe details that were added to the wing binder parts in Part 18.
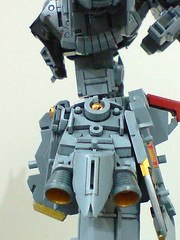
Painted and detailed inner frame parts: Gun Metal engine blocks (Part 10), gold and silver details (Parts 9, and 10), and red points for the thrusters (Part 10).

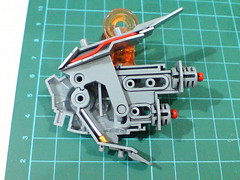
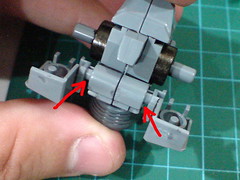
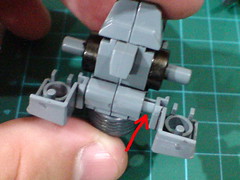
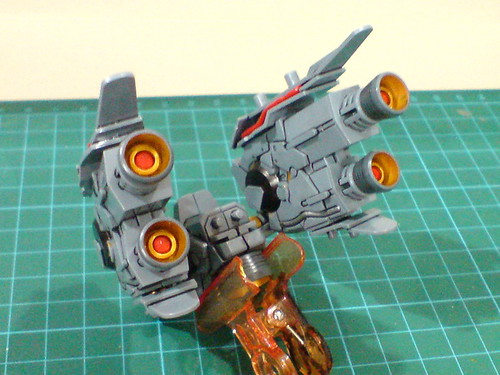
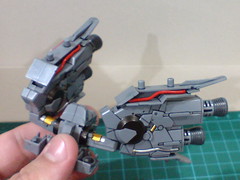
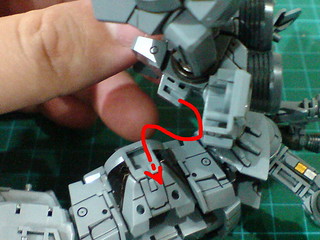
Simple, functional linked movement gimmick for the thruster binders: the top and bottom binders have a interconnecting tab that pushes one another outward when either one of them is bent. The top binder also has a movable peg that would push the thrusters outward as it slides upward when the binder is bent.
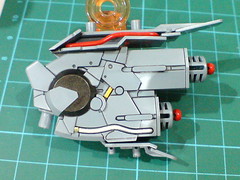
With the linked movement's mechanism now completely hidden behind the engine block cover.
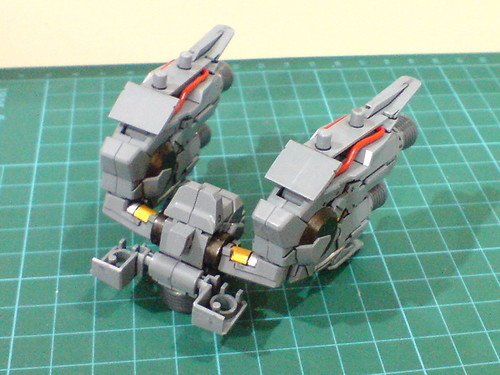
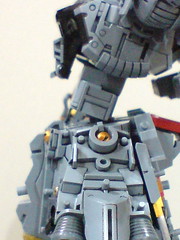
A tiny bit of the extra hydraulic pipes can still be seen when the binders are expanded. ^^

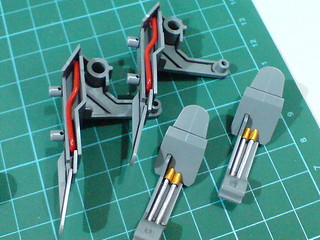
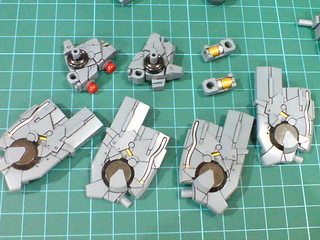
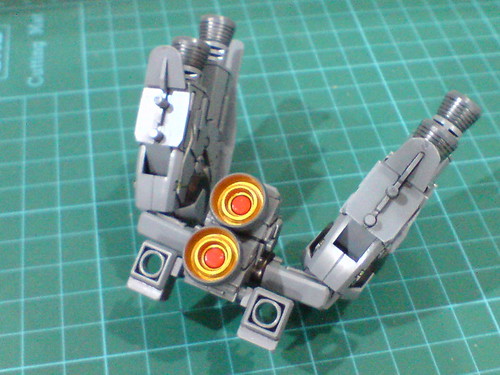
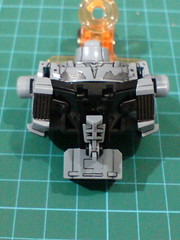
Separable components of the backpack before the final assembly.

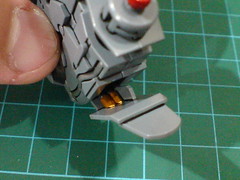
The peg of the propellant tanks' joint is not completely round, indicating that the peg isn't designed to be movable at all.
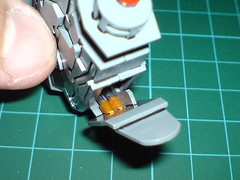
For some unknown reason, the propellant tanks' joint pegs are designed to be slightly longer than the space allocated for each of them inside the backpack. There'll always be a tiny bit of gap between the joint and the backpack's main body, and one side would pop outward even further when you try to push the opposite peg into its slot completely.
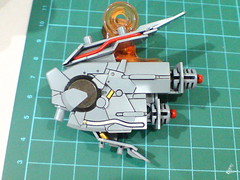
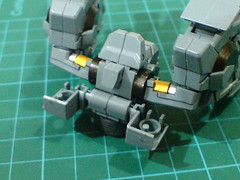
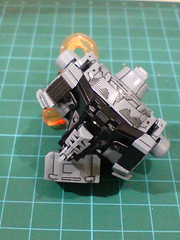
Done for the backpack's inner frame.
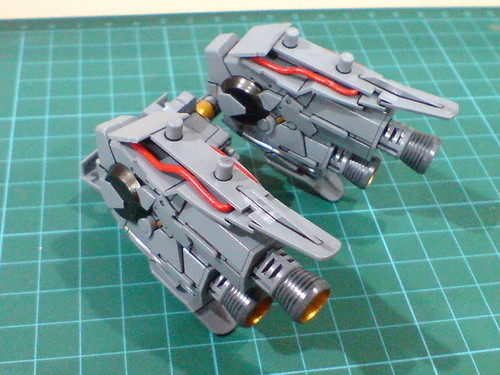
All the colors that aren't gray are the result of paint work and detailing. ^^
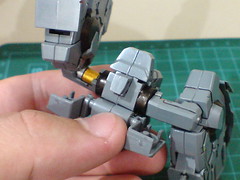
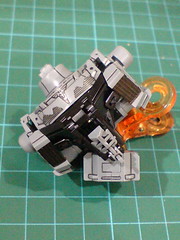
The connector arms can swivel around on either side of the backpack.
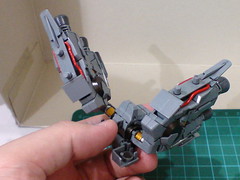
Each thruster binder is also assembled to the connector arm via a straight peg that allows the binder to be flipped inward/outward.

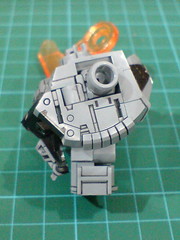
Inner frame parts for the body.
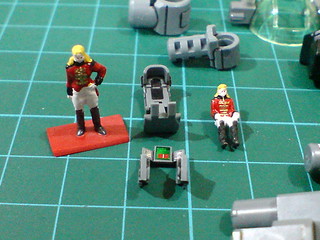
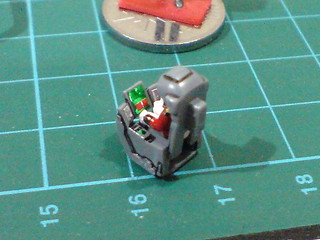
Painted and detailed parts: the pilot and standing figures of Full Frontal (Part 7), the cockpit module (Part 8), ...

... Gold and silver pipes around the neck joint (Parts 9), and the cockpit capsule's joints (Part 14).

The standing figure of Full Frontal, and the pilot figure of him, just assembled into the cockpit module.

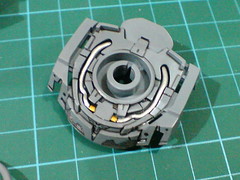
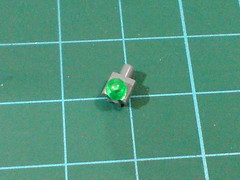
Another look at the pilot figure and the cockpit module, before they are assembled into the clear green parts.
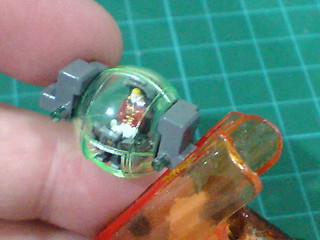

The completed cockpit capsule.

I was planning to give the surface of the large abdominal peg the same detailing as that on all the knee pegs (Part 16) before inserting it into the slot, but I was too excited about completing the body block, and totally forgot about the work. ^^; As the connection is really tight, I don't think I want to unplug the peg to reapply that forgotten details. ^^;
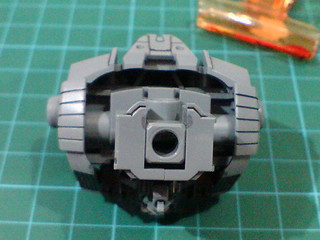
A large slot in the middle of the chest area that awaits the cockpit capsule.

The lighter gray of the capsule's joints (Gaia Color 073 Neutral Gray III) matches the body's color very well, allowing the otherwise clear green parts to blend in quite nicely. ^^
While it's more accurate to classify it as one of the armor parts, the black chest piece is needed to complete the inner frame because of its connection with the neck block.
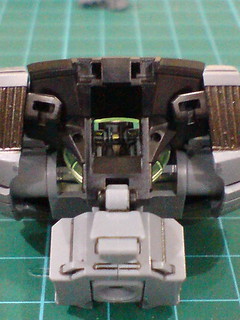
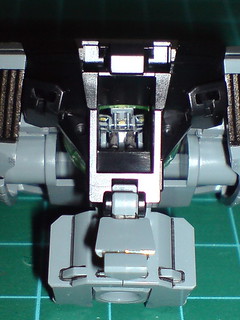
Even at this incomplete state, there's very little of Full Frontal that can be seen through the opened hatch door. ^^;
The pilot is well secured inside the body, one might says. ^^
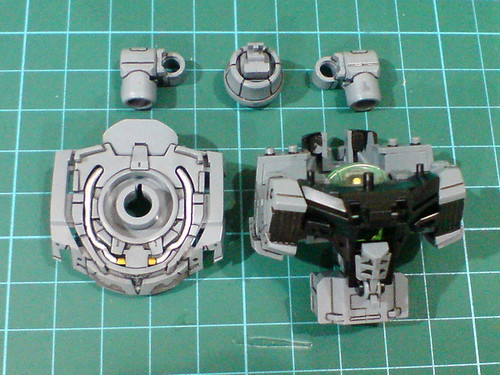
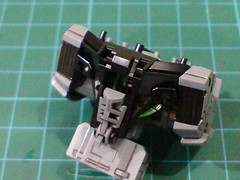
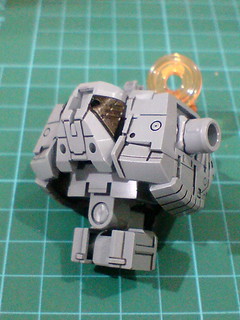
Major components of the body's inner frame before the final assembly.
The waist ring to hold the conductive pipe pieces is actually not needed at this stage of assembly, despite been featured in the part list image. ^^;
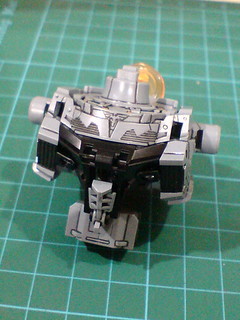

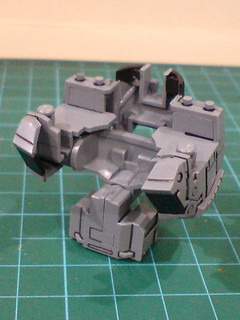
The body module is completed.
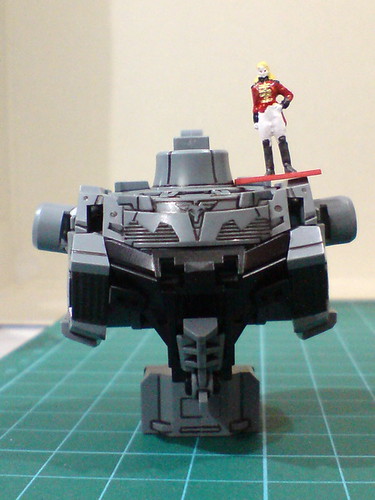
With the pilot figure of Full Frontal posing on top the body.


Without any armor parts to restrict its movement, the abdominal joint is capable of very wide side-to-side, and forward/backward bends.
The round shoulder blocks can be swung outward and to the front for about 90 degrees.
Using the straight pegs that connects them to the body, the shoulder blocks can also be tilted upward for a slight degree.
With the two arms completed in Part 24, shoulder armors from the previous posting, and the backpack.
Interestingly, the shoulder armor's hinge joint is actually being connected to the round shoulder block.
Like the hips in the previous posting, I didn't push the shoulder peg completely into the shoulder block, since the all components would need to be detached later. ^^
A slider-type joint connects the backpack to the body.
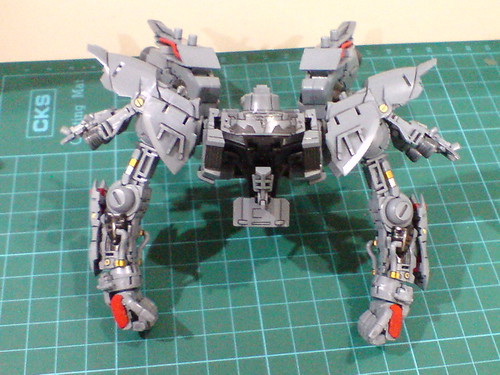
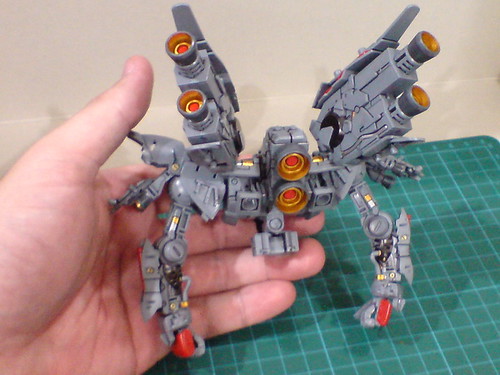
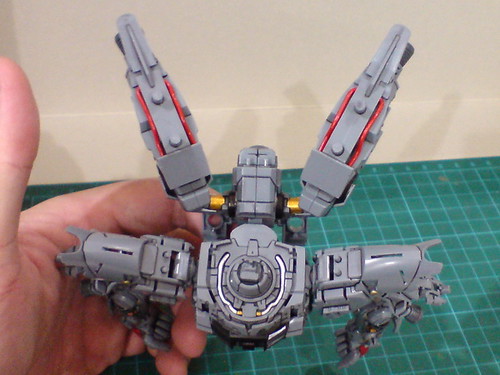
The upper body is done. ^^
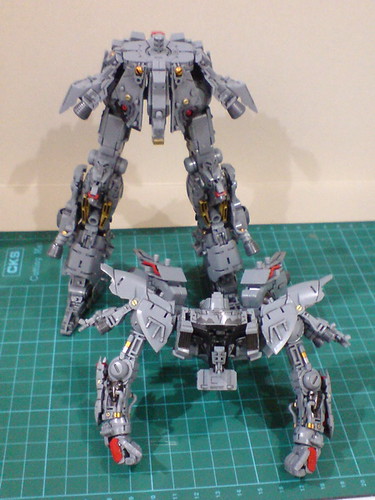
With the lower body from the previous posting.
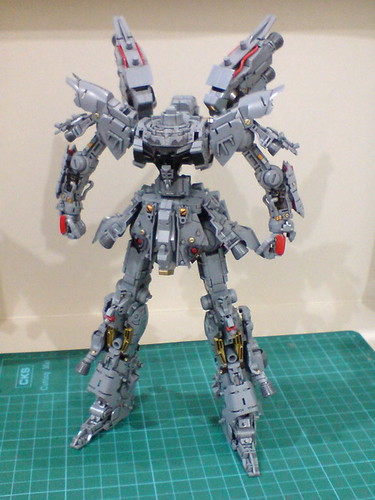
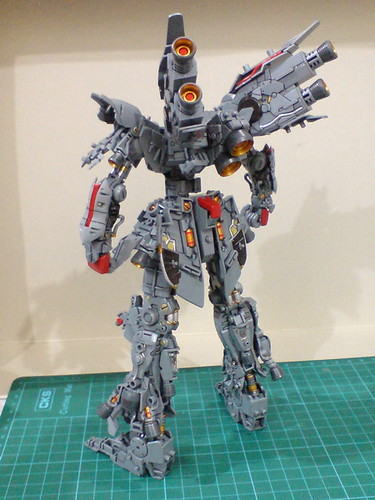
The main inner frame is all done, with the exception of the head of course. ^^
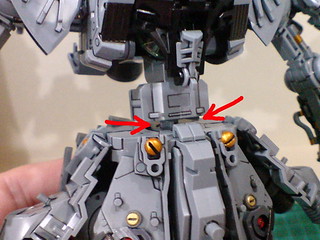
Like the shoulder joint, the waist peg hasn't been completely pushed into the body.

An unexpected benefit from not connecting the waist as tightly as it should be: the upper body can be hinged forward/backward for a much wider degree than its designated range, and this is accomplished by using just the waist joint. ^^
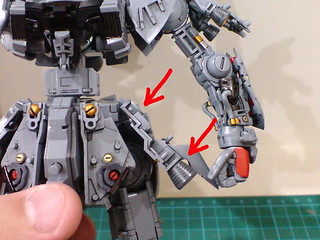
Not mentioned in the previous posting: due to the extra width from the loose hip connection that pushes the side skirt armor outward more than its supposed position, its lower tip is now colliding with the hand. ^^;

Comparison with MG Char's Customized Zaku II Ver. 2.0.
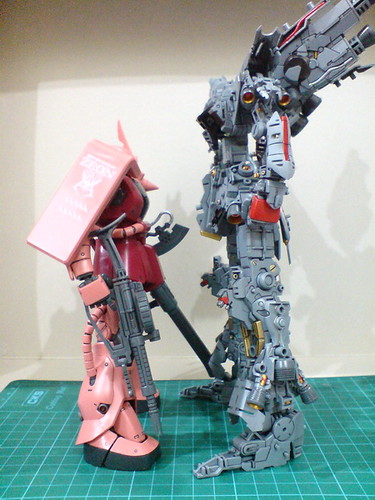

With the revelation of their huge height difference in the previous posting, this new comparison doesn't surprise me too much anymore, but it's still quite a sight to behold. ^^

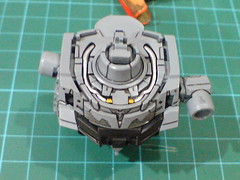
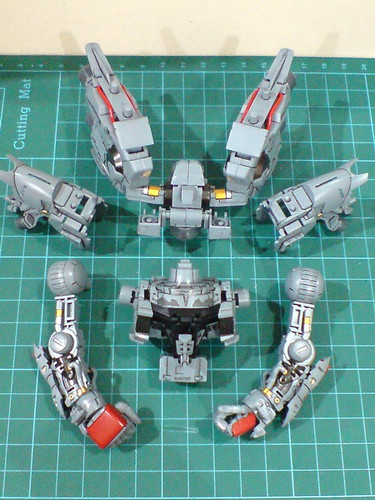
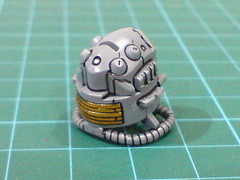
Inner frame parts for the head.
Assembled the mono-eye camera (painted in Part 14) onto its joint part.
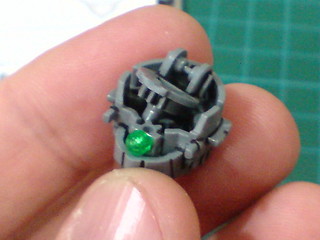
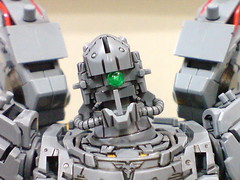
The gears behind the camera's joint, and those on the neck joint indicate the mono-eye camera's linked movement with the neck swivel.
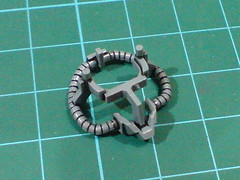
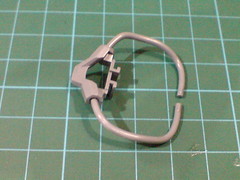
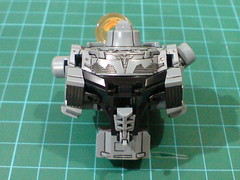
The amazing one-piece pipe part that was detailed in Part 19.
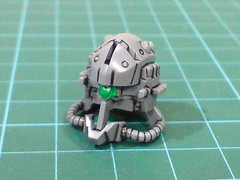
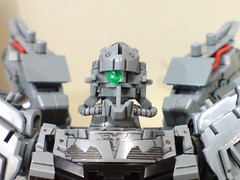
The inner frame of the head is completed.

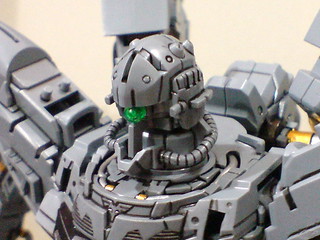
Connected the head to the neck joint.
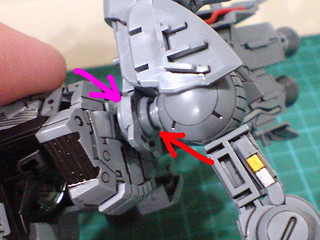
The neck joint allows the head to be hinged upward/downward. The base of the neck piece is on a ball-type joint that allows the head to be rotated in directions, rather freely I would say.
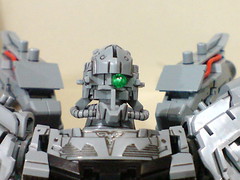
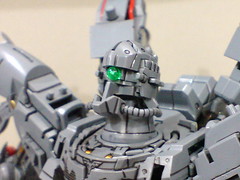
The only articulation point that would activate the linked movement of the mono-eye camera is side-to-side using the neck joint.
All done for the inner frame of MG Sinanju Ver. Ka. ^^ While the instruction manual doesn't indicate the steps in a straight-forward manner, you can indeed get the full inner frame via careful selection of parts, and at certain times when necessary, improvisation of certain assembly steps as well. ^^
More images of the entire inner frame coming up in the next posting. ^^


No comments:
Post a Comment